Subscriber Exclusive
Wanderlust Beanie: Recipe for a Great Stash-Buster Project
Knit a classic beanie in your size with your yarn using Sandi’s pattern with a fill-in-the blank worksheet.
Knit a classic beanie in your size with your yarn using Sandi’s pattern with a fill-in-the blank worksheet. <a href="https://farmfiberknits.com/wanderlust-beanie-recipe-for-a-great-stash-buster-project/">Continue reading.</a>
https://farmfiberknits.com/cdn-cgi/image/format=auto/https://www.datocms-assets.com/101500/1753982910-rosner-wander-beanie-header-new.jpg?auto=format&w=900
Contents
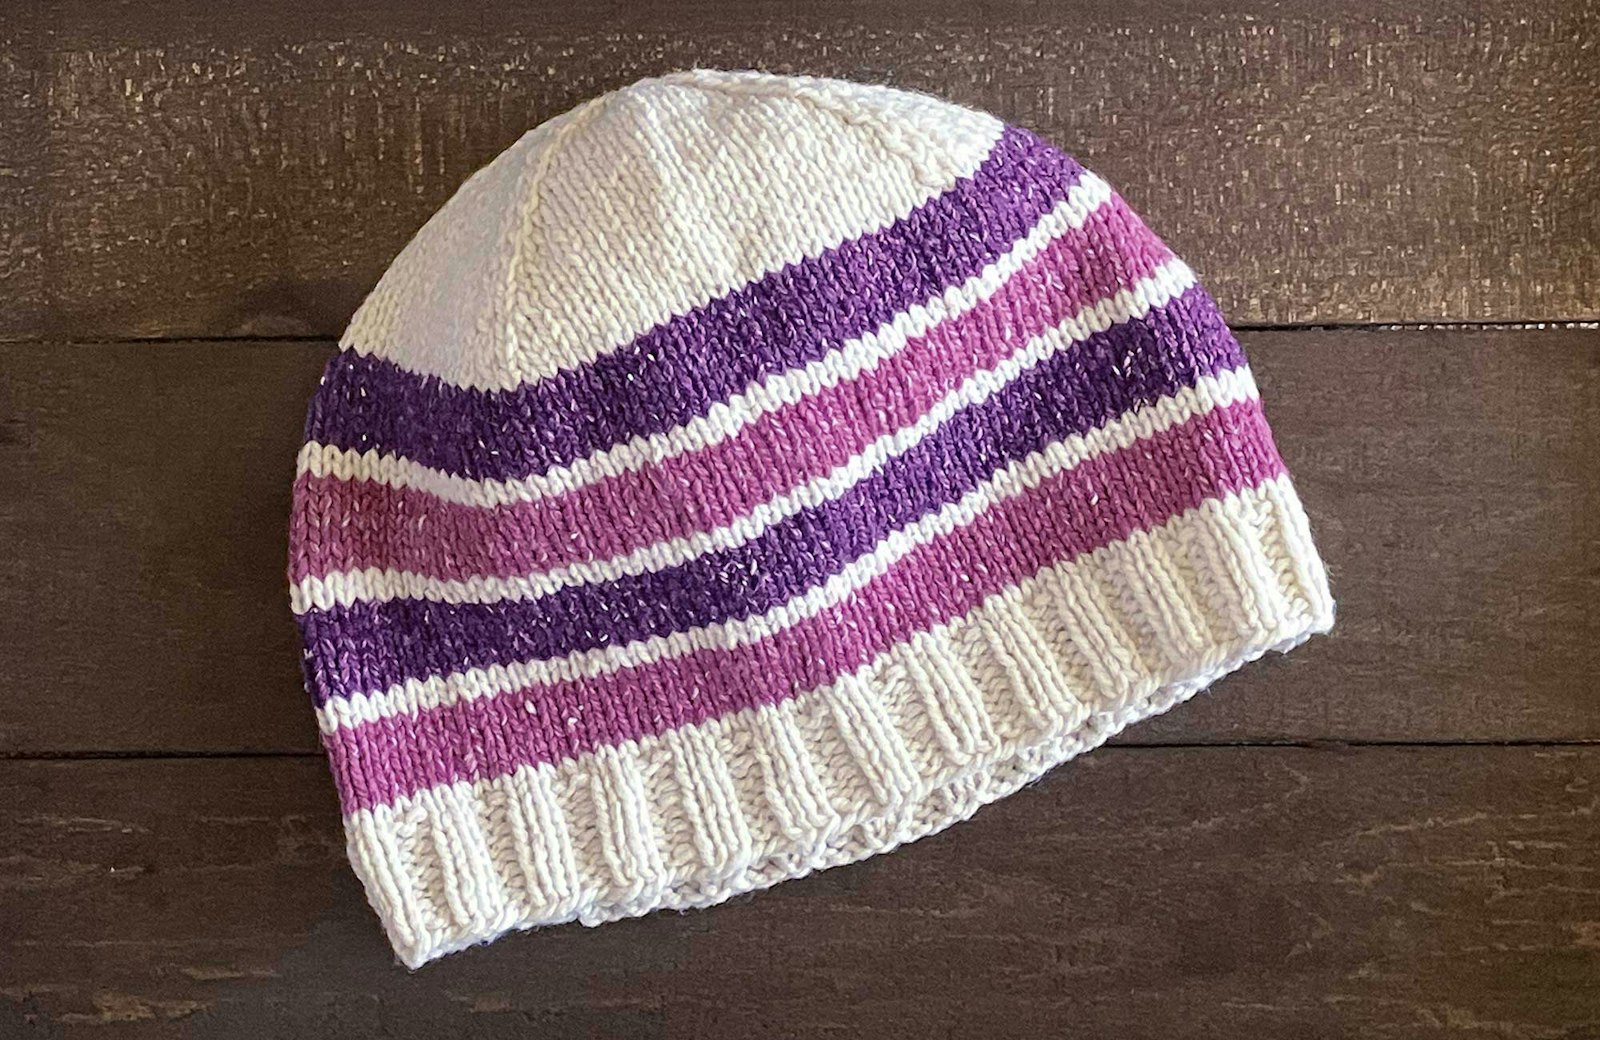
Looking for a great one-skein project? This cheerful customizable beanie is a fantastic way to use the special skein you picked up at the farmers market or fiber festival. The instructions start with a worksheet (included with the Wanderlust Beanie pattern linked below). You’ll knit a swatch, take a couple of measurements, then fill in the worksheet. It’s that simple! —Editors
Whether you call it a beanie, a watch cap, or a toque, a simple hat can be a knitter’s constant companion. Knitting a hat makes few demands on your attention, leaving you free to converse or watch a movie. A hat-in-progress tucks easily into your daily tote bag, ready to occupy you during random idle moments.
This isn’t so much a pattern as it is a recipe for making a simple knit hat in any size using whatever yarn you please. Using your gauge and your head measurements, you’ll calculate how many stitches to cast on, when to begin shaping the crown, and how to work the crown shaping. The result is a hat custom designed by you, for you (or any knit-worthy person in your life.)
 To begin, measure the circumference of the head and the length from the crown of your head to where you want the brim to sit—above the ears or covering the ears, it's up to you!
This hat is knitted in the round from the brim to the crown. Every aspect of this hat can be customized to suit you. Unlike most patterns, there is no specific finished size, gauge, yarn, or recommended needle size. You’ll determine
SUBSCRIBER EXCLUSIVE
Looking for a great one-skein project? This cheerful customizable beanie is a fantastic way to use the special skein you picked up at the farmers market or fiber festival. The instructions start with a worksheet (included with the Wanderlust Beanie pattern linked below). You’ll knit a swatch, take a couple of measurements, then fill in the worksheet. It’s that simple! —Editors
Whether you call it a beanie, a watch cap, or a toque, a simple hat can be a knitter’s constant companion. Knitting a hat makes few demands on your attention, leaving you free to converse or watch a movie. A hat-in-progress tucks easily into your daily tote bag, ready to occupy you during random idle moments.
This isn’t so much a pattern as it is a recipe for making a simple knit hat in any size using whatever yarn you please. Using your gauge and your head measurements, you’ll calculate how many stitches to cast on, when to begin shaping the crown, and how to work the crown shaping. The result is a hat custom designed by you, for you (or any knit-worthy person in your life.)
To begin, measure the circumference of the head and the length from the crown of your head to where you want the brim to sit—above the ears or covering the ears, it's up to you!
This hat is knitted in the round from the brim to the crown. Every aspect of this hat can be customized to suit you. Unlike most patterns, there is no specific finished size, gauge, yarn, or recommended needle size. You’ll determine[PAYWALL] the size of your hat based on the measurements of the intended wearer’s head. Then, you’ll determine your gauge based on a swatch made with the yarn and needles of your choice.
Head Measurements and Hat Sizing
To get started designing your own custom hat, you'll need two measurements:
• The circumference of the head. Hold a tape measure just above your eyebrows, above your ears, and across the back of the head.
• The length from the crown of your head to where you want the brim to sit. Above the ears, covering the ears—it’s up to you. If you want your hat to fold up for a doubled brim, we’ll account for that extra length later.
In most cases, your hat should be slightly smaller than your actual head circumference so it will hug your head. This means knitting the hat with about 10% negative ease. This is included in the worksheet below, but keep in mind that hat fit is another opportunity for customization.
If your hairstyle is dependent on volume, you may want your hat to fit a little looser. If you want your hat to accommodate braids or locs, knitting your hat longer will create the necessary room.
 Wool and wool blends are a good choice for the Wanderlust Beanie.
Stitch Patterns
You don’t need ribbing at the brim of your hat; a good fit plus gravity is enough to keep it on your head. If you like the look of a rolled edge, you can use stockinette stitch throughout. Garter stitch, seed stitch, ribbing, or a folded hem are all great choices for a hat—knitter’s choice!
For the rest of the hat, just about anything goes. Just be sure to measure your gauge over the stitch pattern you choose. This recipe works best with a stitch pattern with a ratio of stitch gauge to row gauge close to that of stockinette stitch—between 2 stitches for every 3 rows and 3 stitches for every 4 rows (0.66:1 to 0.75:1). For your first hat, you can keep things simple by using a stitch pattern that works over a multiple of 4 stitches. This makes it easy to transition to the crown decreases.
Yarn
Choose a yarn with some bounce so your hat won’t stretch out of shape. Avoid cotton, linen, silk, or other fibers with little elasticity. Wool is always a good choice, and wool blends often work well.
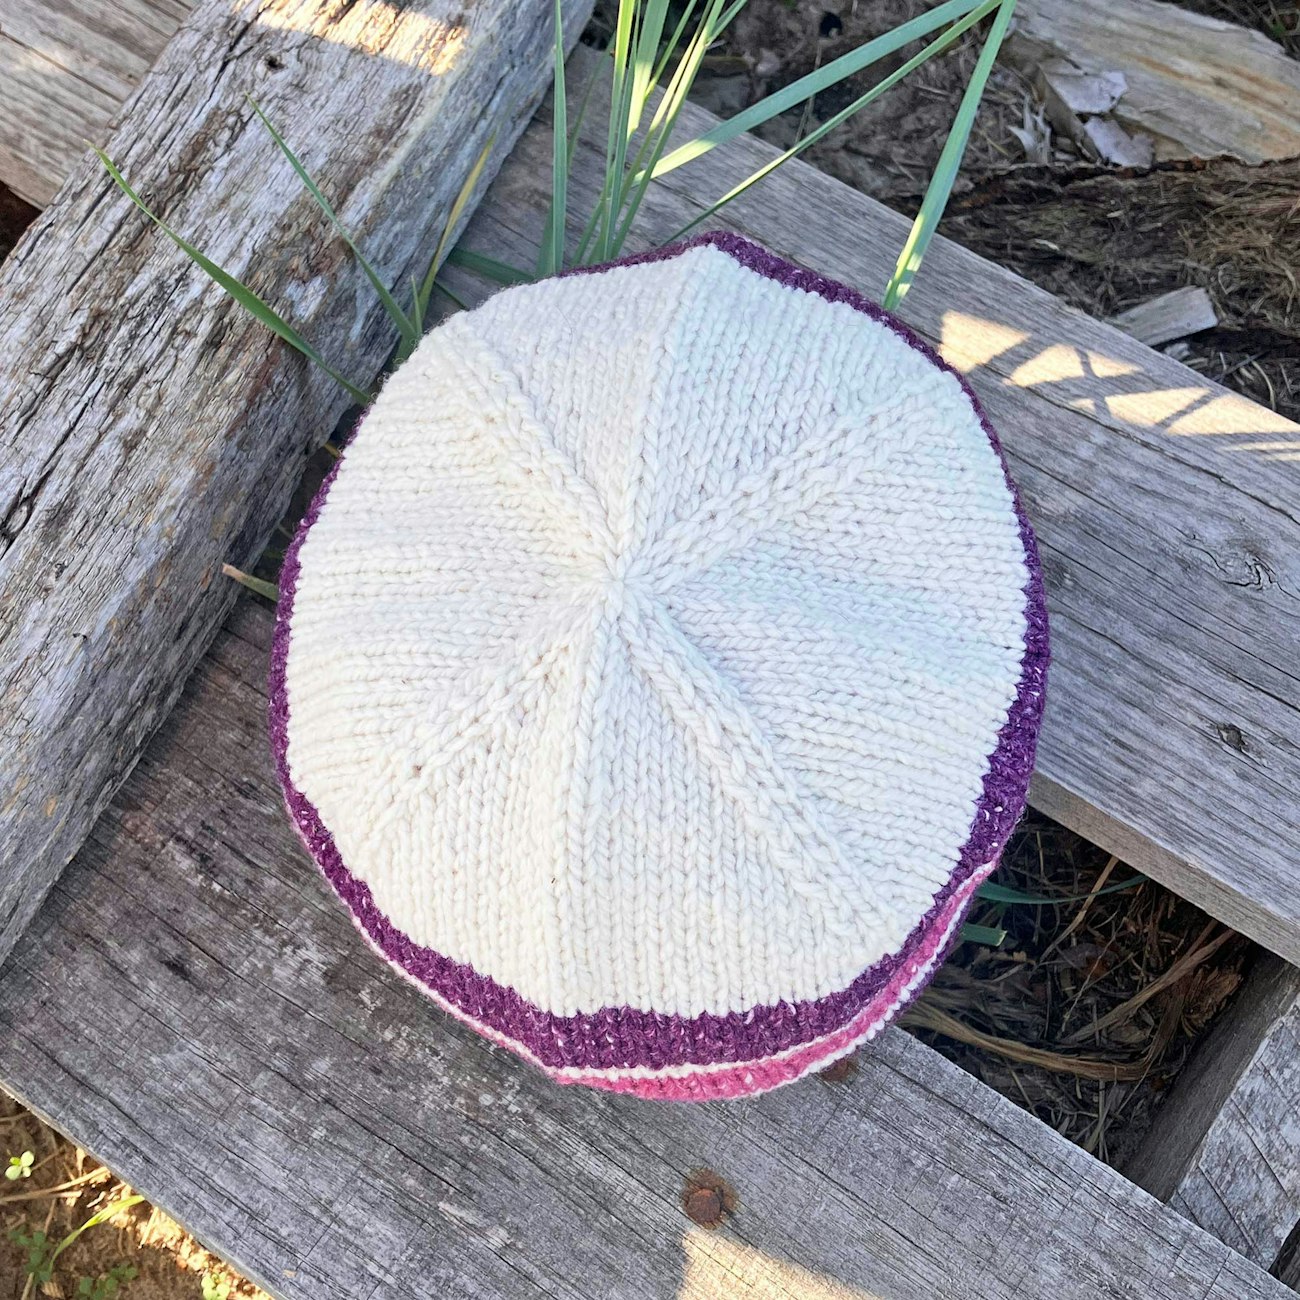
Feel free to play with stripes of color in your hat. A simple hat can be a great stash-buster if you have small amounts of yarn left over from other projects. My sample hat was made with yarn left over from a sweater project.
Gauge and Needle Size
Your knitted fabric should be stretchy and cohesive. Start your swatching with the needle size recommended on the yarn label, or the size you’d use to make a sweater with the yarn. For all but the smallest baby hats, a 16" circular needle works well. As you decrease stitches at the top of your hat, you’ll need to switch to the needle style you prefer for knitting small circumferences in the round: double-pointed needles or a long circular needle for Magic Loop.
You’ll need a total of four stitch markers: one for the beginning of round and three more to help keep track of your crown shaping.
Knit a swatch at least 5-inch square using the stitch pattern you intend to use for your hat. Wash and dry the swatch the same way you intend to wash the finished hat, then give it a critical evaluation. Will this fabric make a good hat? Does it feel bouncy and elastic? Will it be comfortable against your forehead? If so, measure and count to determine how many stitches and how many rows per inch. If your fabric is visibly irregular, measure your gauge in three or four different places on your swatch, then average those measurements to determine your gauge
Get the Pattern!
Subscribers can find the Wanderlust Beanie Recipe in the Farm & Fiber Knits Library.
Made this hat? We’d love to see your version! Share your WIP and finished hat photos on the pattern page in our library.