Subscriber Exclusive
Sagging Shoulders? Ways to Reinforce a Neckline | Part 1
Reinforcing the neckline of a sweater can add support to the entire garment, helping it to look better longer. It’s not only practical—it’s an opportunity to add a flourish to the finish.
Reinforcing the neckline of a sweater can add support to the entire garment, helping it to look better longer. It’s not only practical—it’s an opportunity to add a flourish to the finish. <a href="https://farmfiberknits.com/sagging-shoulders-ways-to-reinforce-a-neckline-or-part-1/">Continue reading.</a>
https://farmfiberknits.com/cdn-cgi/image/format=auto/https://www.datocms-assets.com/101500/1774623686-schultz-sweater-bands-header2.jpg?auto=format&w=900
Contents
Necklines are one of the hardest-working parts of a handknit, bearing the weight of the garment while enduring constant stretching and wear. Without a bit of reinforcement, they can easily lose their shape over time—especially in sweaters that are steeked, frequently pulled on and off, or knitted in heavy yarns.
Why Are My Shoulders Sagging?
 The stunning Vintage Maple Cardigan by Lisa Lloyd is heavily cabled and roomy. The weight of the sleeves pull against the shoulder and neckline in one direction while the fronts and back pull in another. A bit of reinforcement helps this cozy knit keep its shape during daily wear. Find the pattern in our library. Photo by Gale Zucker
Not only is the weight of the sweater front and back supported by the shoulder and neckline, but the weight of long sleeves add horizontal tension on those same seams. If you’ve ever noticed that the sleeve length of a sweater or cardigan have become too long, or the point where the top of the sleeve meets the body is creeping down your arm, reinforcing the back neck (and possibly the shoulder line) can do wonders for fit.
Luckily, there are several simple finishing options to add along the inside edge of the neck (or neck and shoulders) that can add structure, protect vulnerable stitches, and extend the life of a garment, all while offering an opportunity for a thoughtful, even beautiful, detail.
So, how can you add a little extra support to your sweaters? Here, Pamela will first focus on embellished finishes, and in Part 2 next week, Kate will share a nearly invisible reinforcement method.
Method 1: Ribbons & Bands for Embellished Finishes
Pamela K. Schultz
I love knitting in the round—no purling to see here—and I love cardigans. You might think that I’d have to choose one or the other, but that’s where steeking comes into play. As knitting author and designer Sandi Rosner explains, “Steek is a common term for an extra panel of stitches added to a project that will later be cut open to create armholes, necklines, and more. Steeks can be used for projects that will be knitted in the round.”
But how does one hide and protect that raw edge?
SUBSCRIBER EXCLUSIVE
Necklines are one of the hardest-working parts of a handknit, bearing the weight of the garment while enduring constant stretching and wear. Without a bit of reinforcement, they can easily lose their shape over time—especially in sweaters that are steeked, frequently pulled on and off, or knitted in heavy yarns.
Why Are My Shoulders Sagging?
The stunning Vintage Maple Cardigan by Lisa Lloyd is heavily cabled and roomy. The weight of the sleeves pull against the shoulder and neckline in one direction while the fronts and back pull in another. A bit of reinforcement helps this cozy knit keep its shape during daily wear. Find the pattern in our library. Photo by Gale Zucker
Not only is the weight of the sweater front and back supported by the shoulder and neckline, but the weight of long sleeves add horizontal tension on those same seams. If you’ve ever noticed that the sleeve length of a sweater or cardigan have become too long, or the point where the top of the sleeve meets the body is creeping down your arm, reinforcing the back neck (and possibly the shoulder line) can do wonders for fit.
Luckily, there are several simple finishing options to add along the inside edge of the neck (or neck and shoulders) that can add structure, protect vulnerable stitches, and extend the life of a garment, all while offering an opportunity for a thoughtful, even beautiful, detail.
So, how can you add a little extra support to your sweaters? Here, Pamela will first focus on embellished finishes, and in Part 2 next week, Kate will share a nearly invisible reinforcement method.
Method 1: Ribbons & Bands for Embellished Finishes
Pamela K. Schultz
I love knitting in the round—no purling to see here—and I love cardigans. You might think that I’d have to choose one or the other, but that’s where steeking comes into play. As knitting author and designer Sandi Rosner explains, “Steek is a common term for an extra panel of stitches added to a project that will later be cut open to create armholes, necklines, and more. Steeks can be used for projects that will be knitted in the round.”
But how does one hide and protect that raw edge?
[PAYWALL]
Some steek-hiding methods use layers of extra knitting, and while they work, I find them too bulky for my taste. Experience tells me my raw non-superwash steek edges aren’t going anywhere, but my formative years spent shopping with a sewist who rejected any poorly-made seam (no matter how cool those jeans were) still makes me queasy about the idea of an unfinished edge.
 A well-finished neckline does more than look tidy—it helps a sweater hold its shape and stand up to years of wear. Whether you’re working with a steeked opening or simply want to prevent stretching, reinforcing the neckline adds a layer of durability where it matters most. Here, Pamela models a favorite handknitted cardigan, knitted in the round and reinforced with a woven band around the neckline.
Beautiful, Thoughtful Details
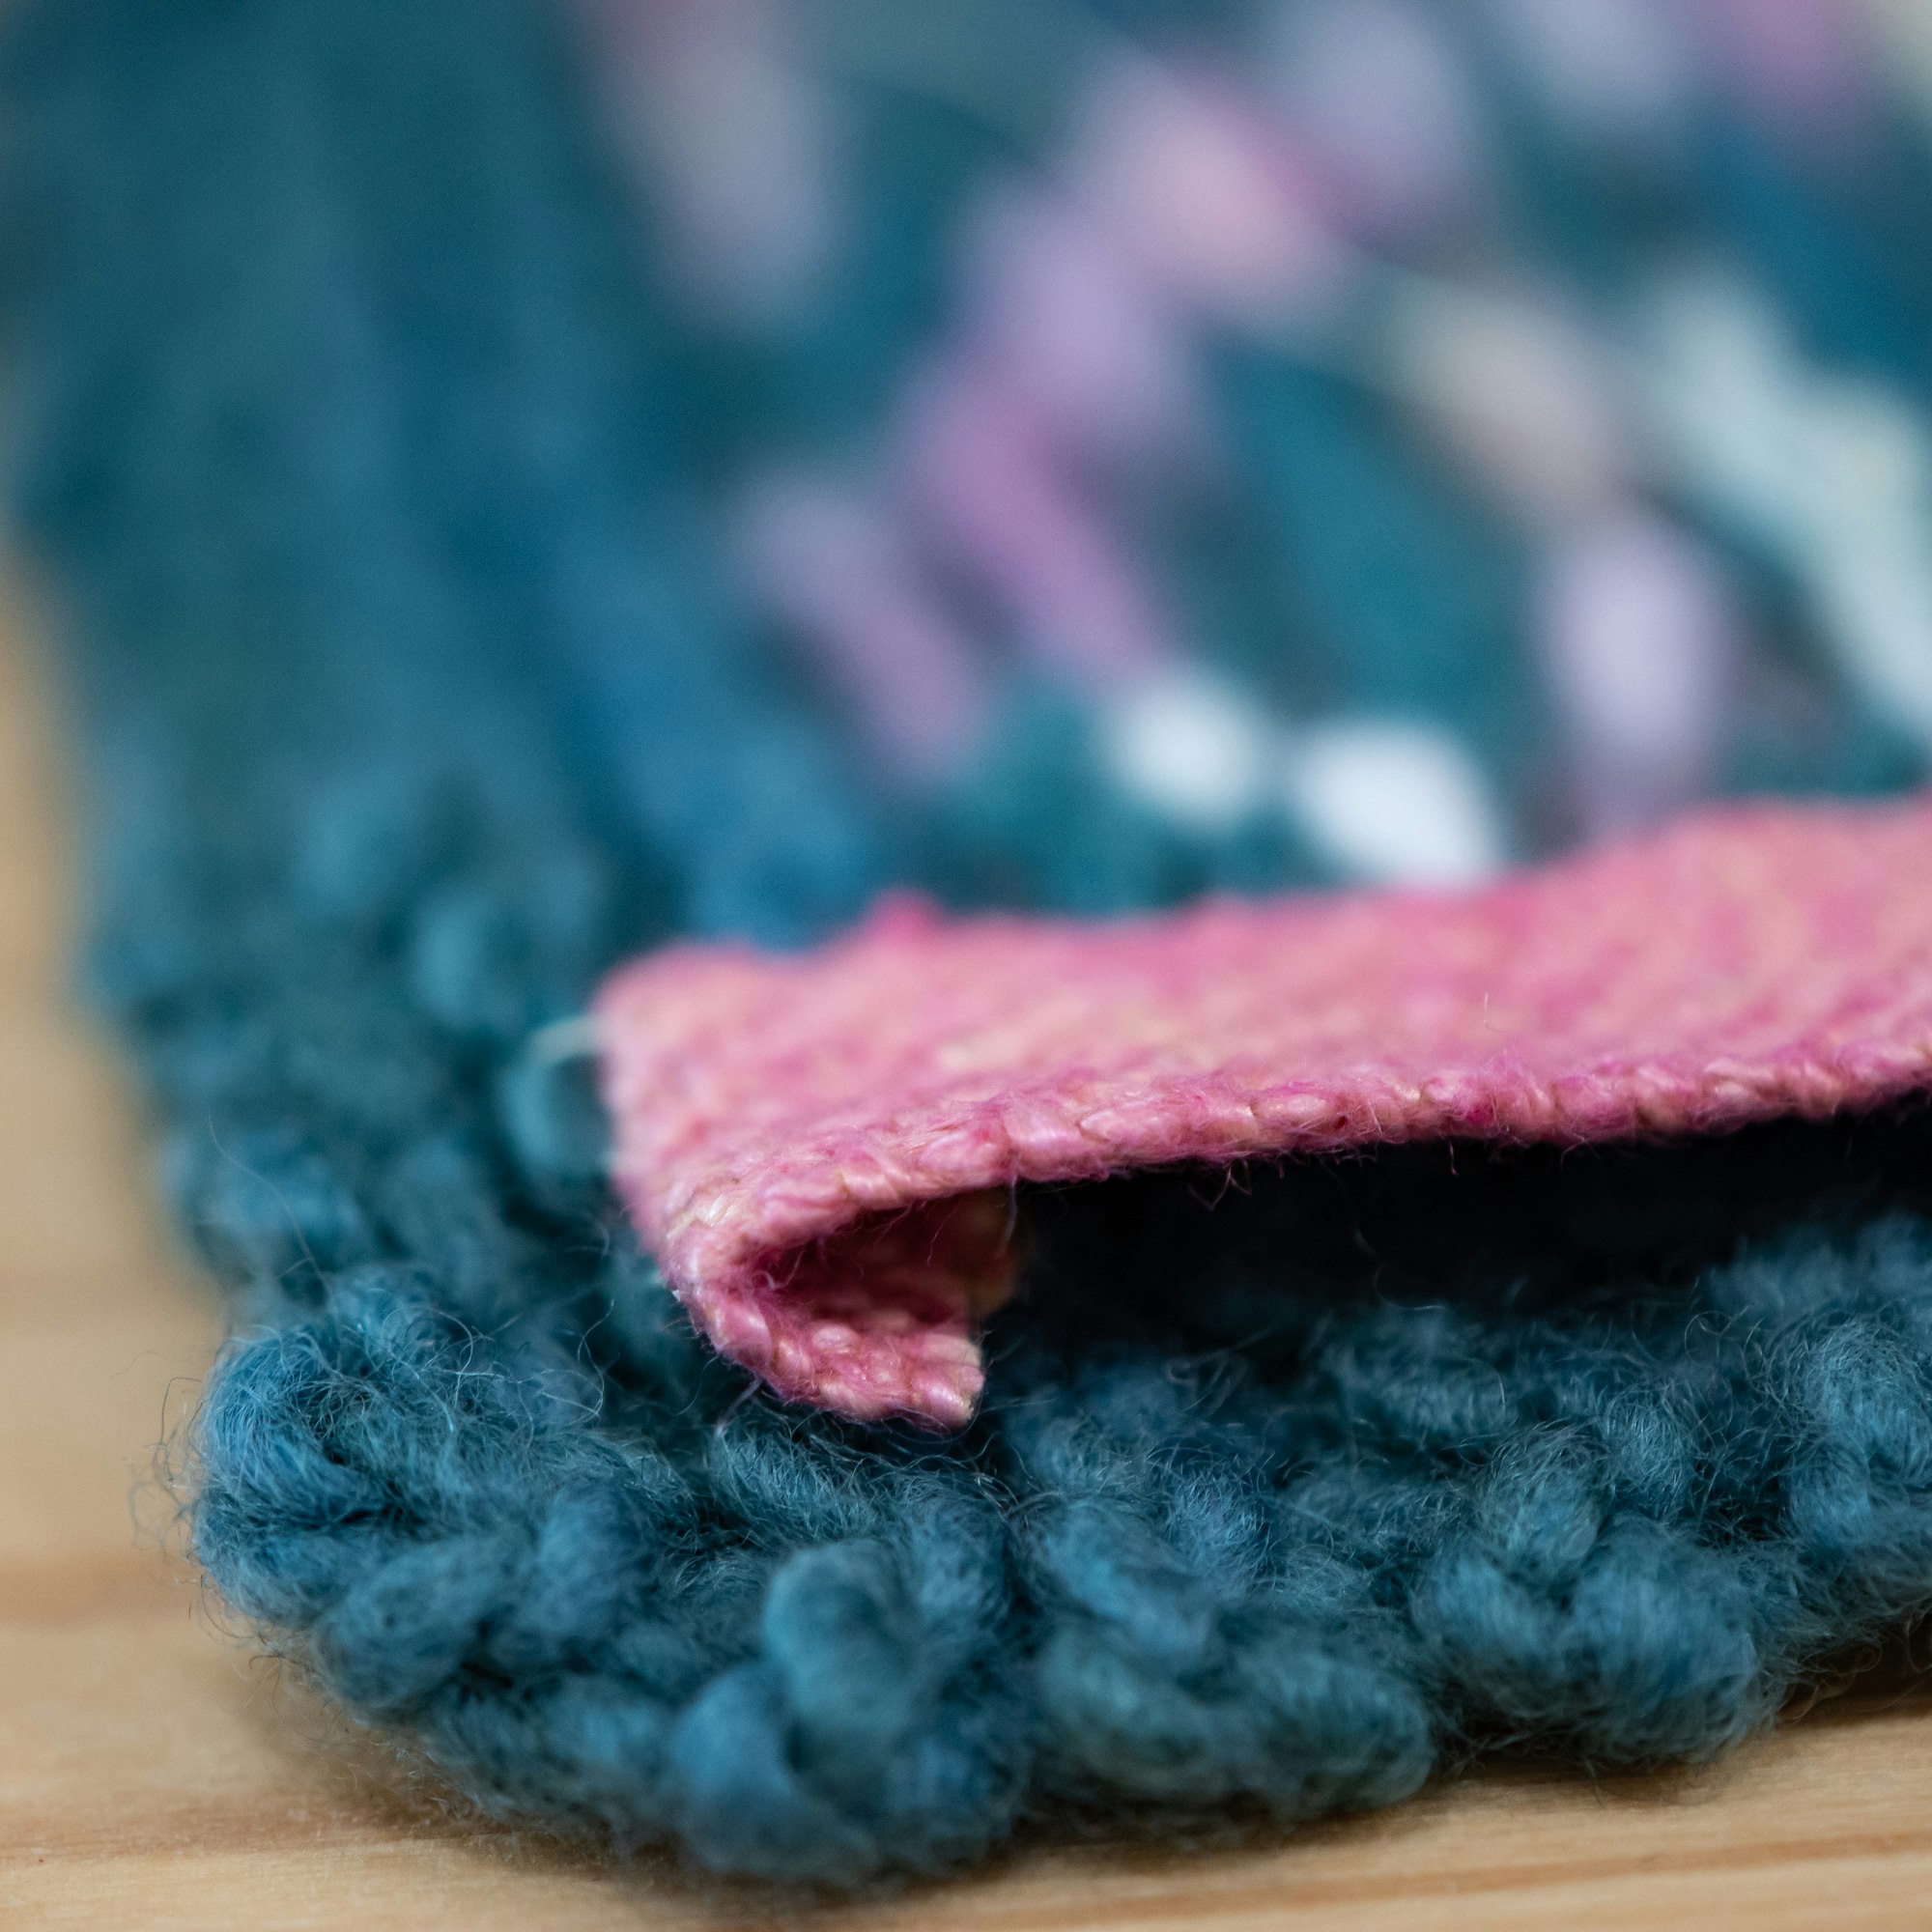
Enter another favorite technique: A simple ribbon tacked down to the cut edge hides it and protects those loose ends from raveling. Extending the ribbon all the way around the neck is easier than having to start and stop, plus it lends a little extra stability to the neckline, without creating stiffness.
Get a closer look. Click on any image to open it in full-screen mode and to learn more.
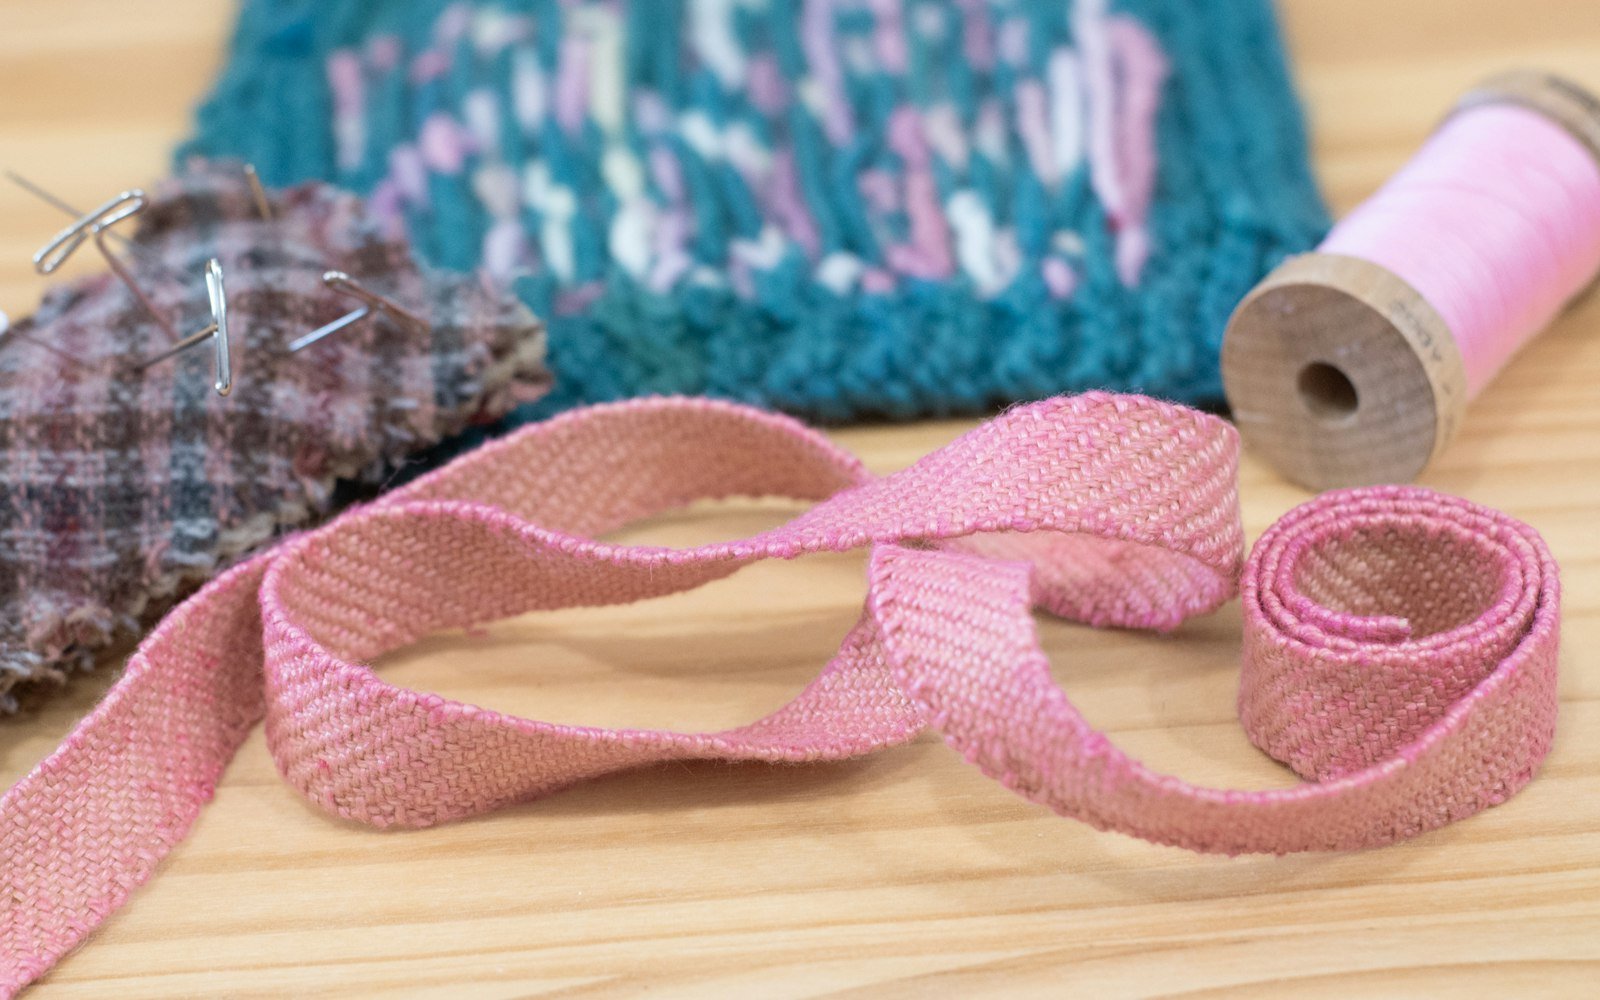
When I first started using this technique, I used simple cotton ribbon, but have since started weaving my own bands for that extra touch of customization. Sometimes these bands use yarn that’s left over from the sweater project, creating a coordinating band that makes me feel extra pulled-together.
Other times, I choose something contrasting for a little zinger that only I get to see. Luxury ribbons are also a great choice—just make sure the fibers feel comfortable against your neck.
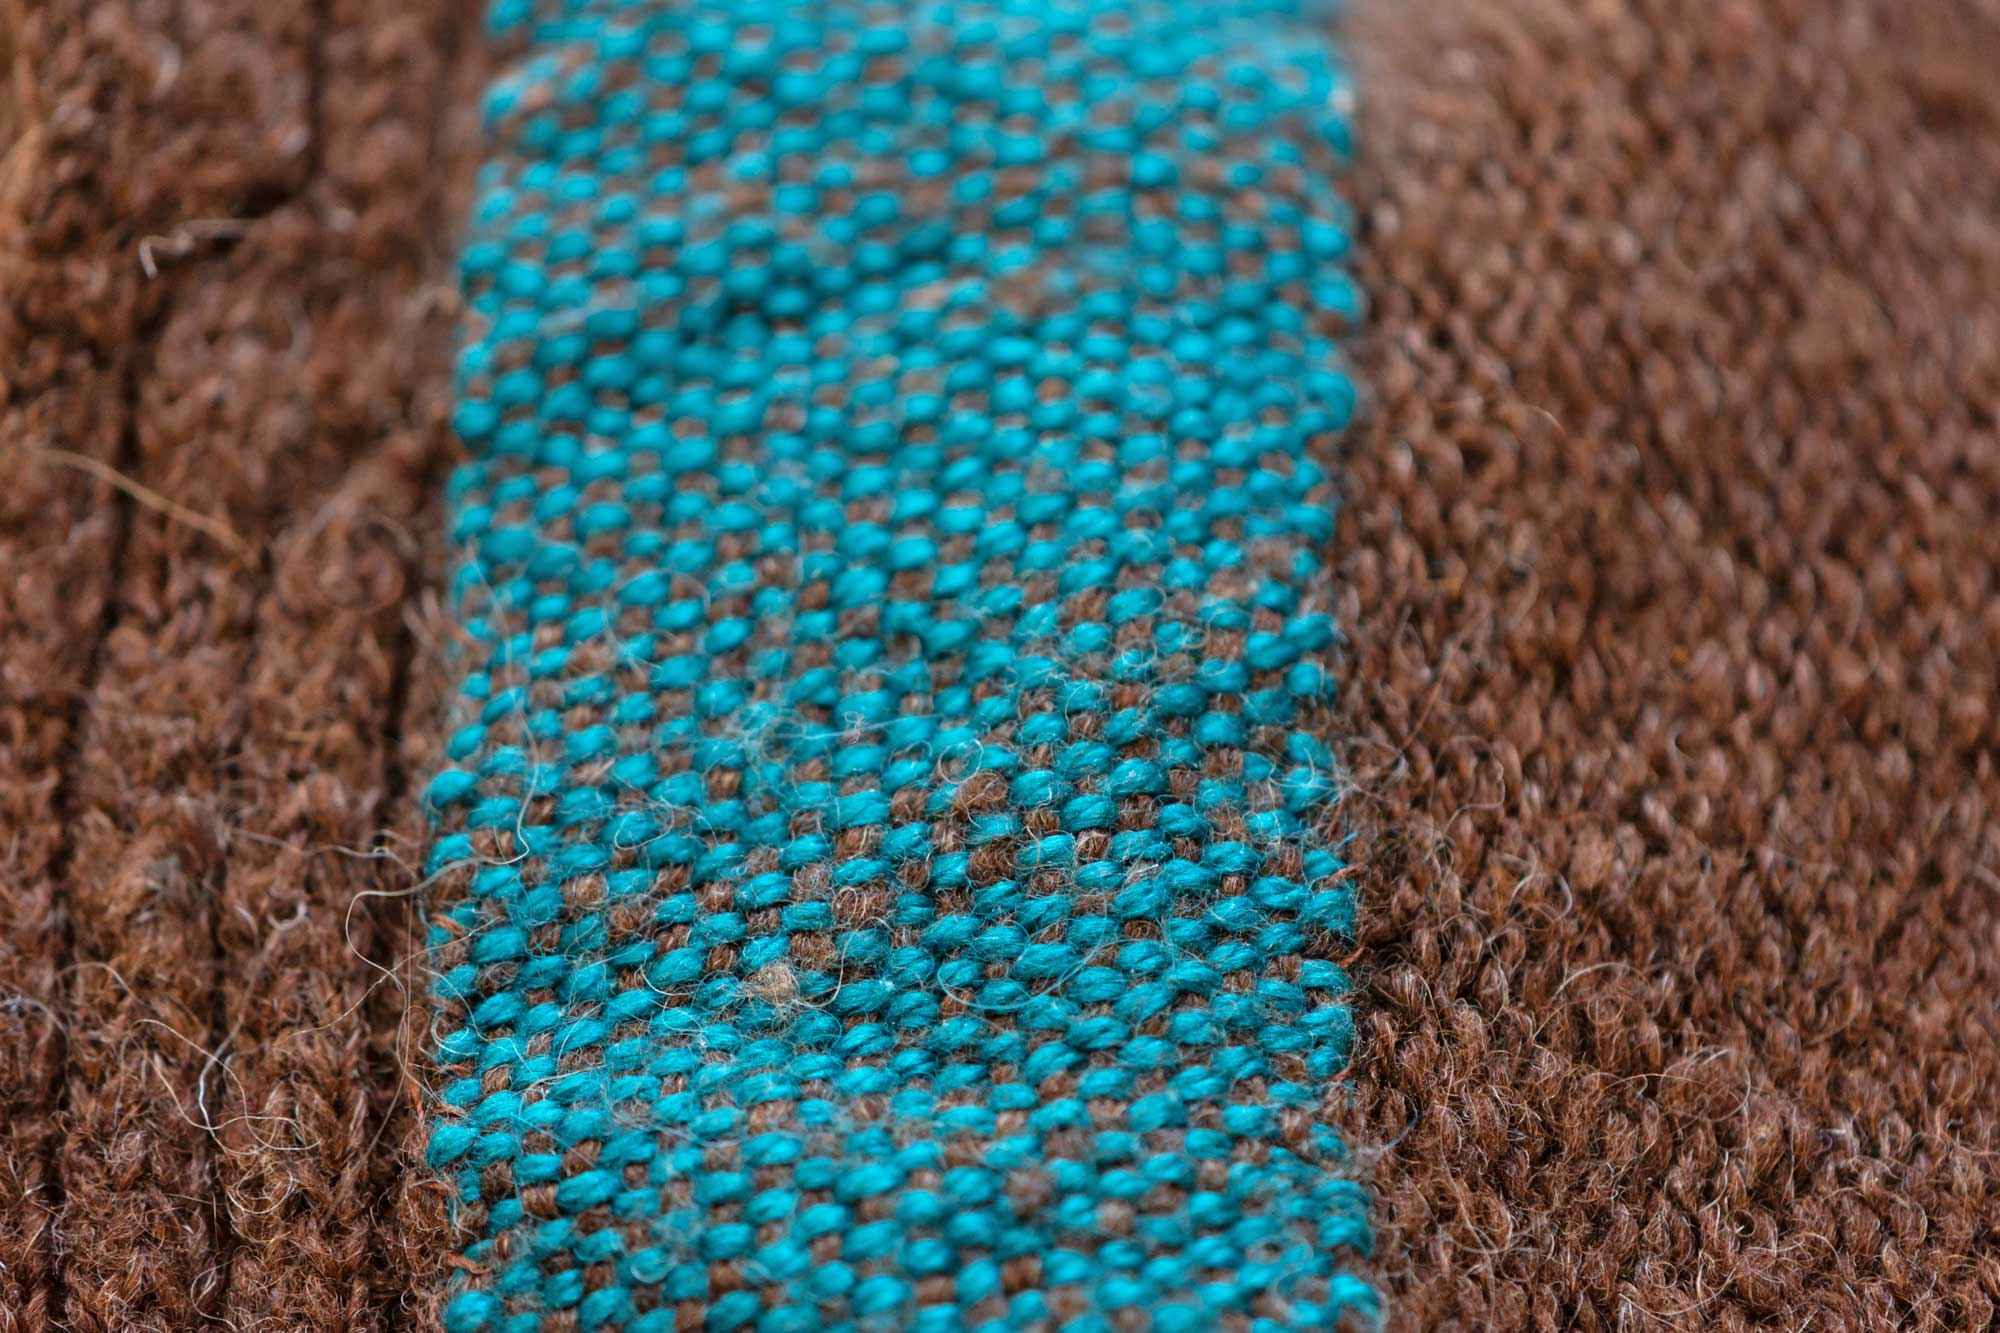
 This band used leftover yarns for both the warp and weft. The motif for the band was inspired by the motifs on the sweater. Pamela wove this band on a four-shaft table loom. Note how the band goes all the way around the neckline.
How to Do It
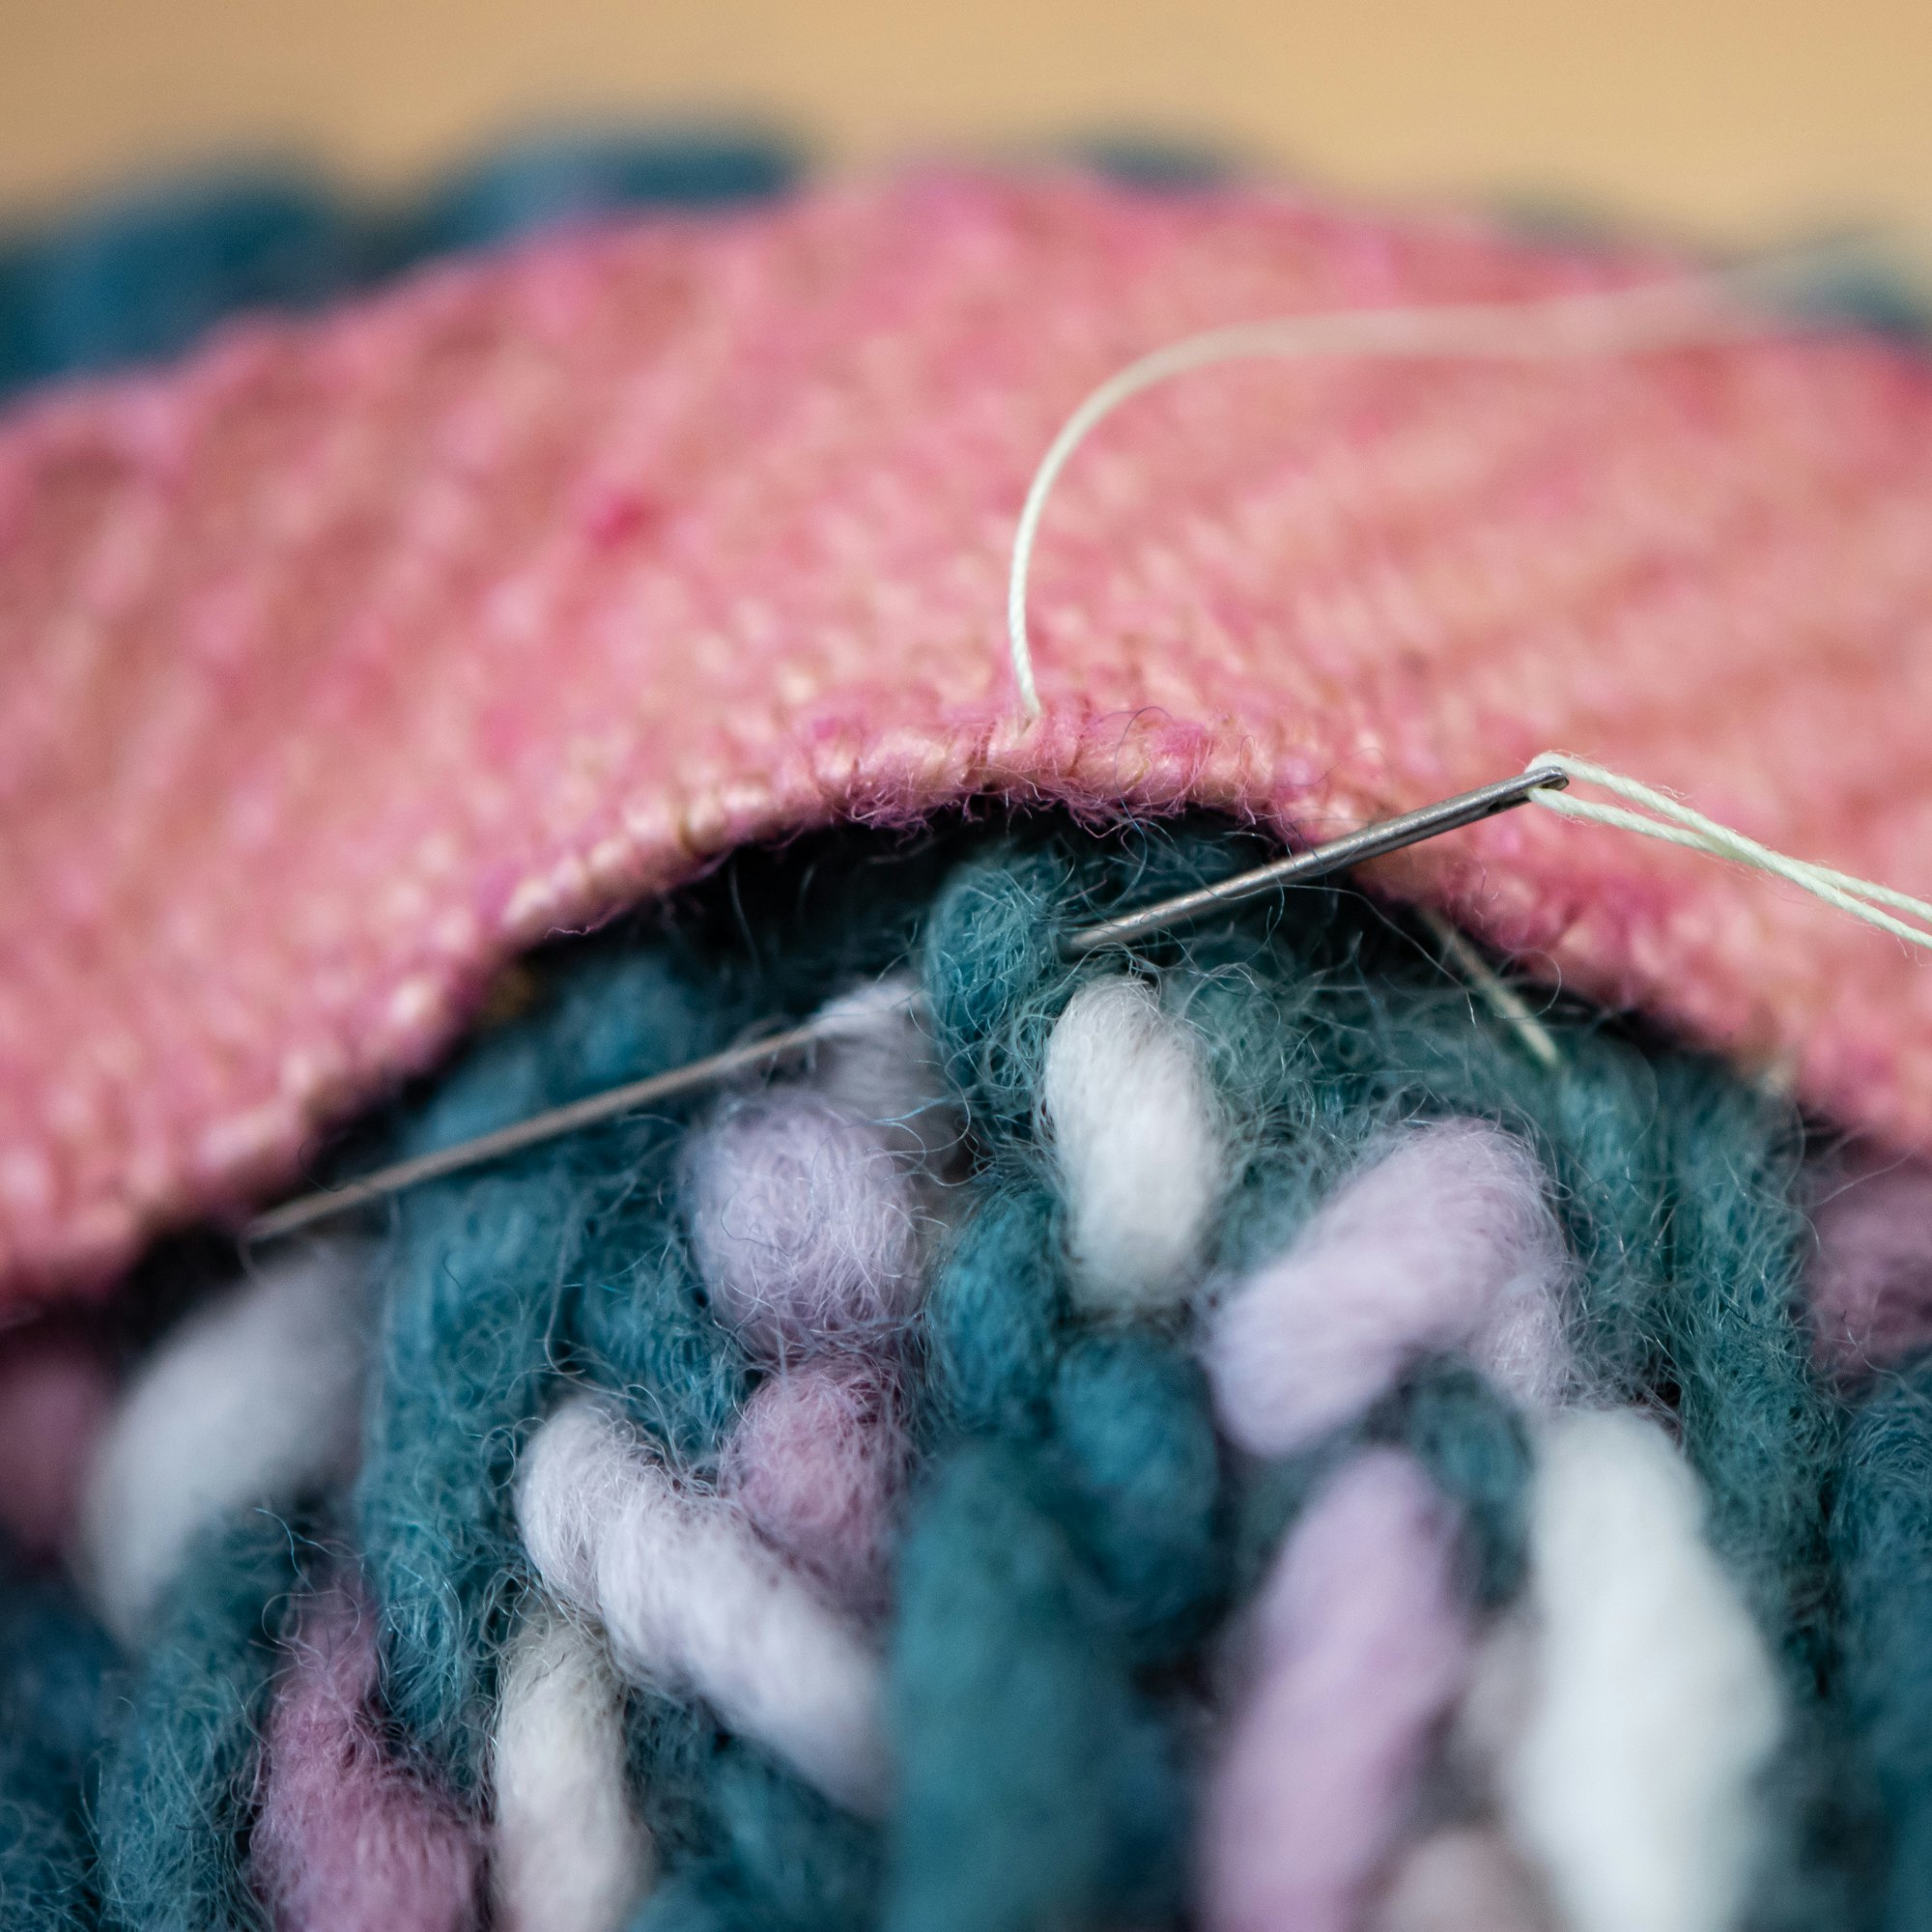
Step 1: Fold the edge of your ribbon or band to conceal the cut edge. Pin the ribbon to your sweater. Don’t stretch your sweater while you pin.
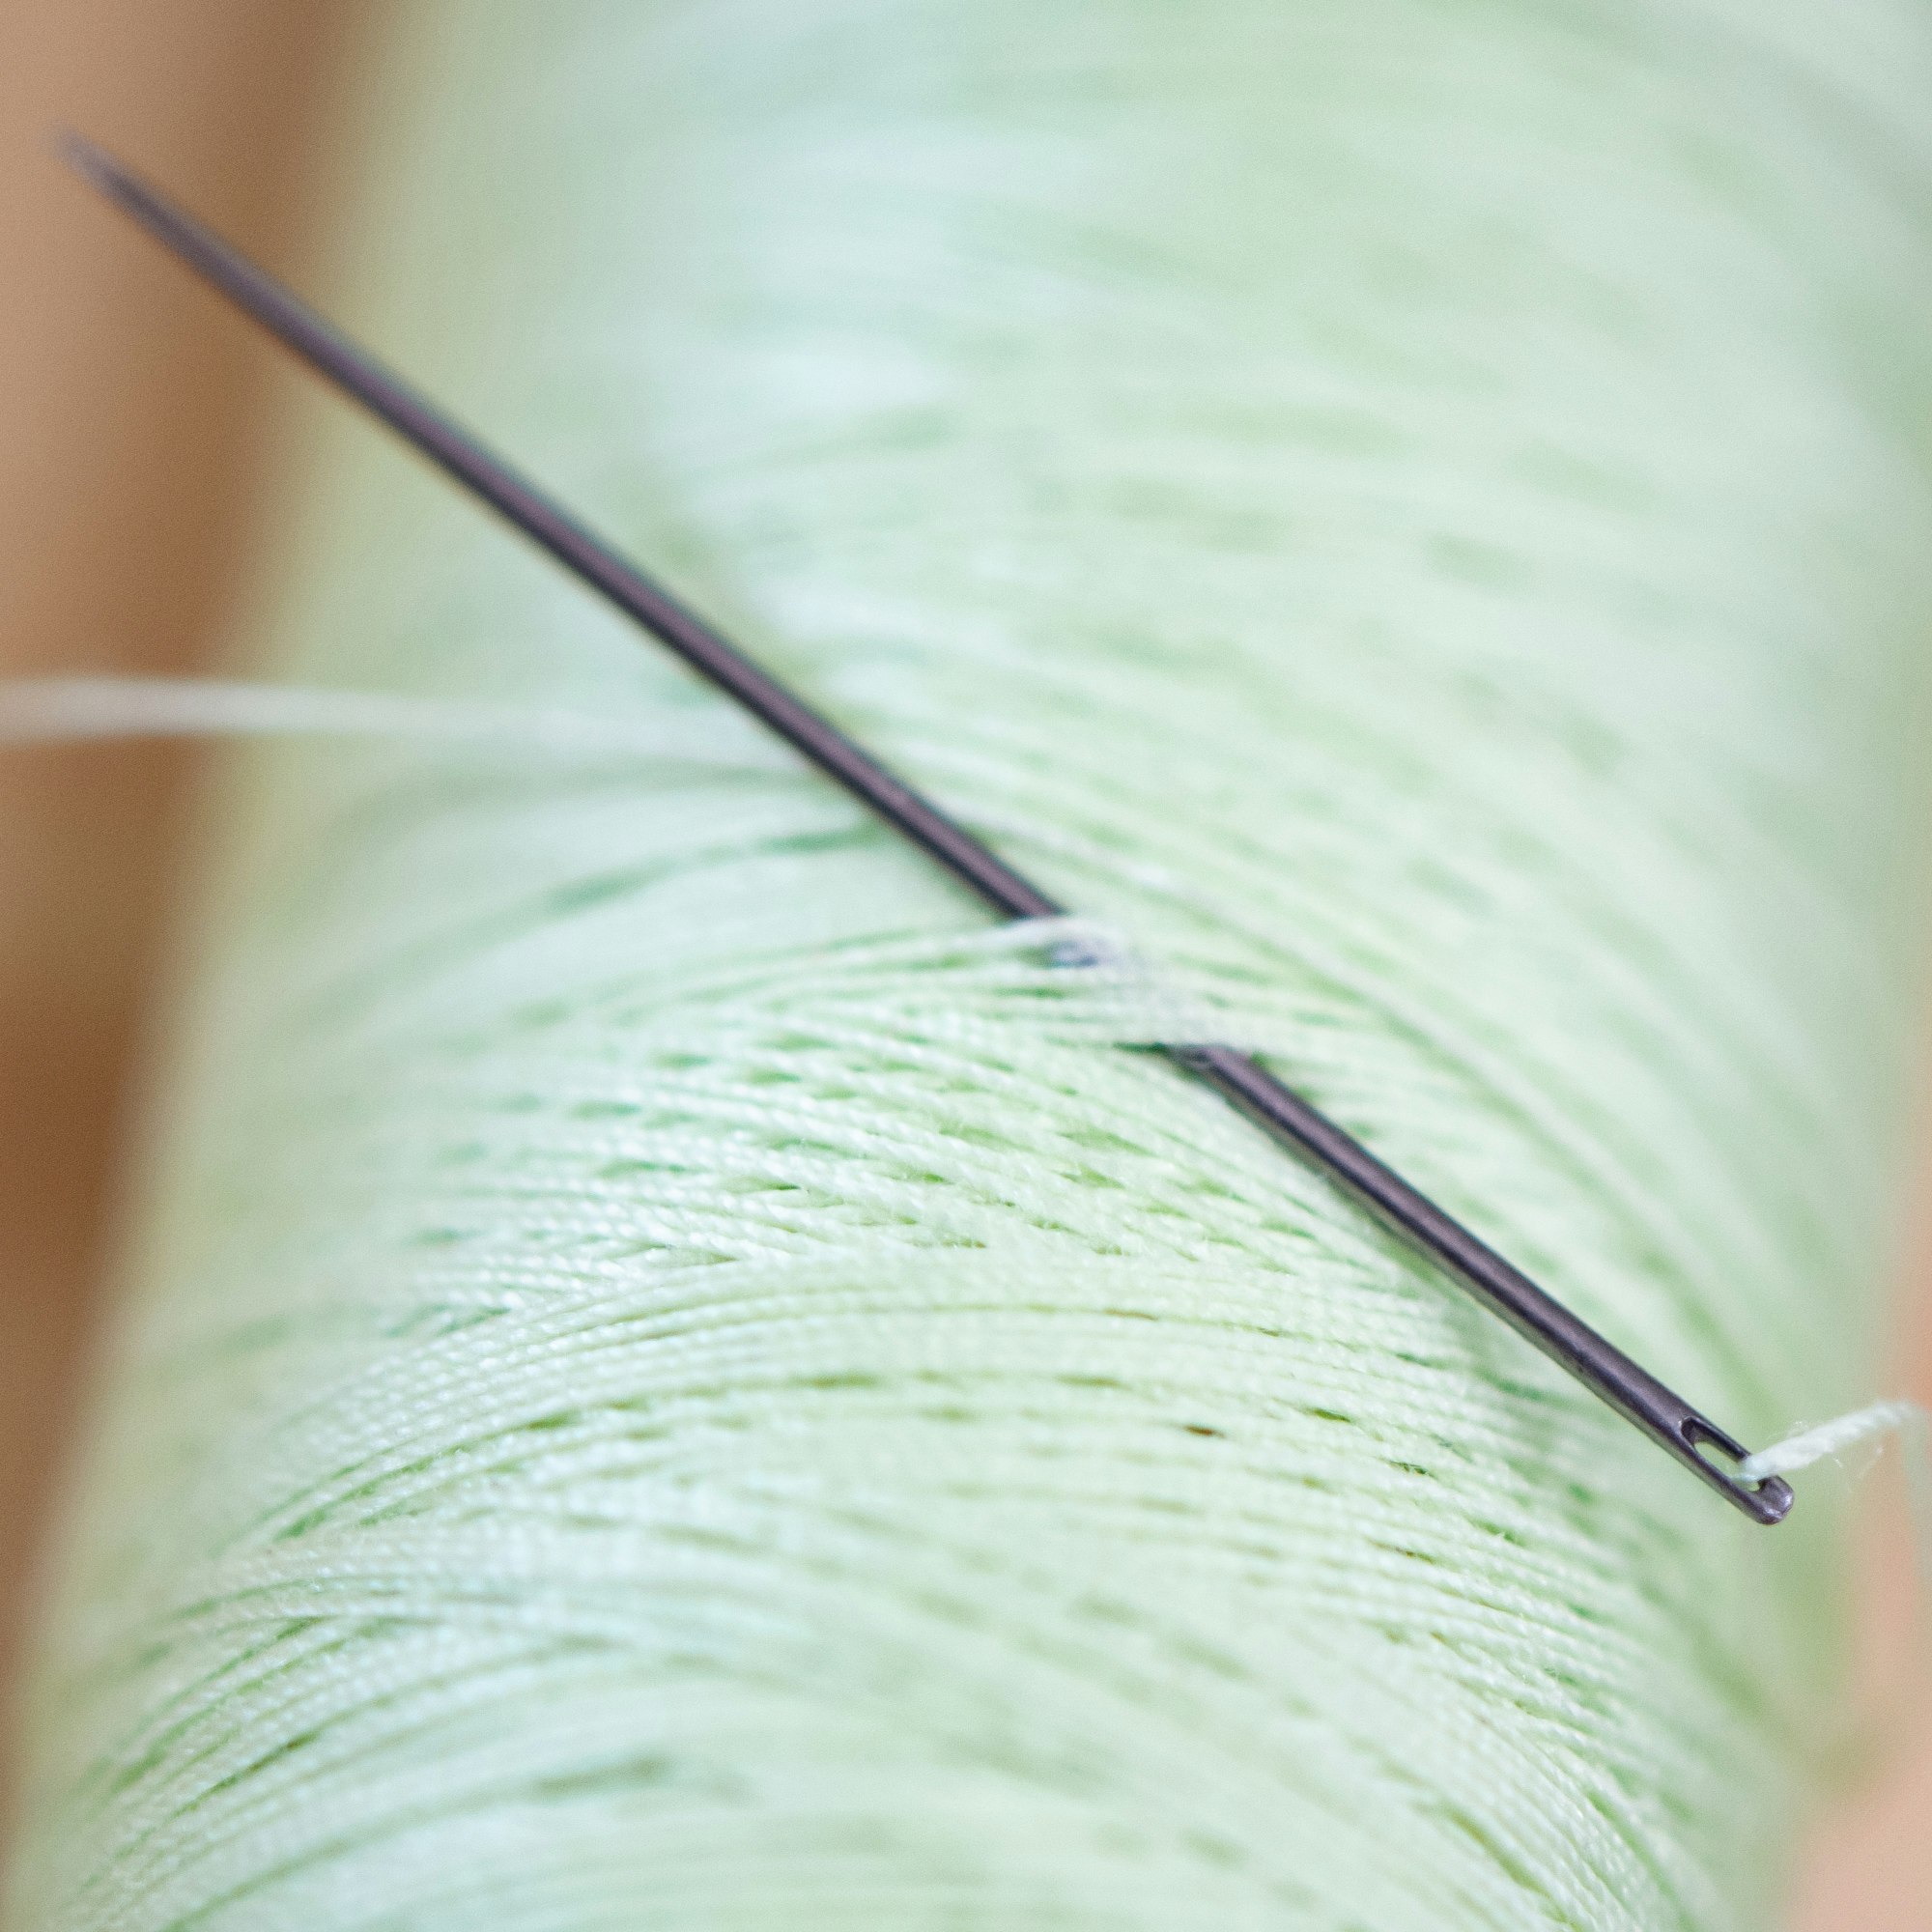
Step 2: Choose your thread. I tend to use cotton sewing thread in a coordinating color.
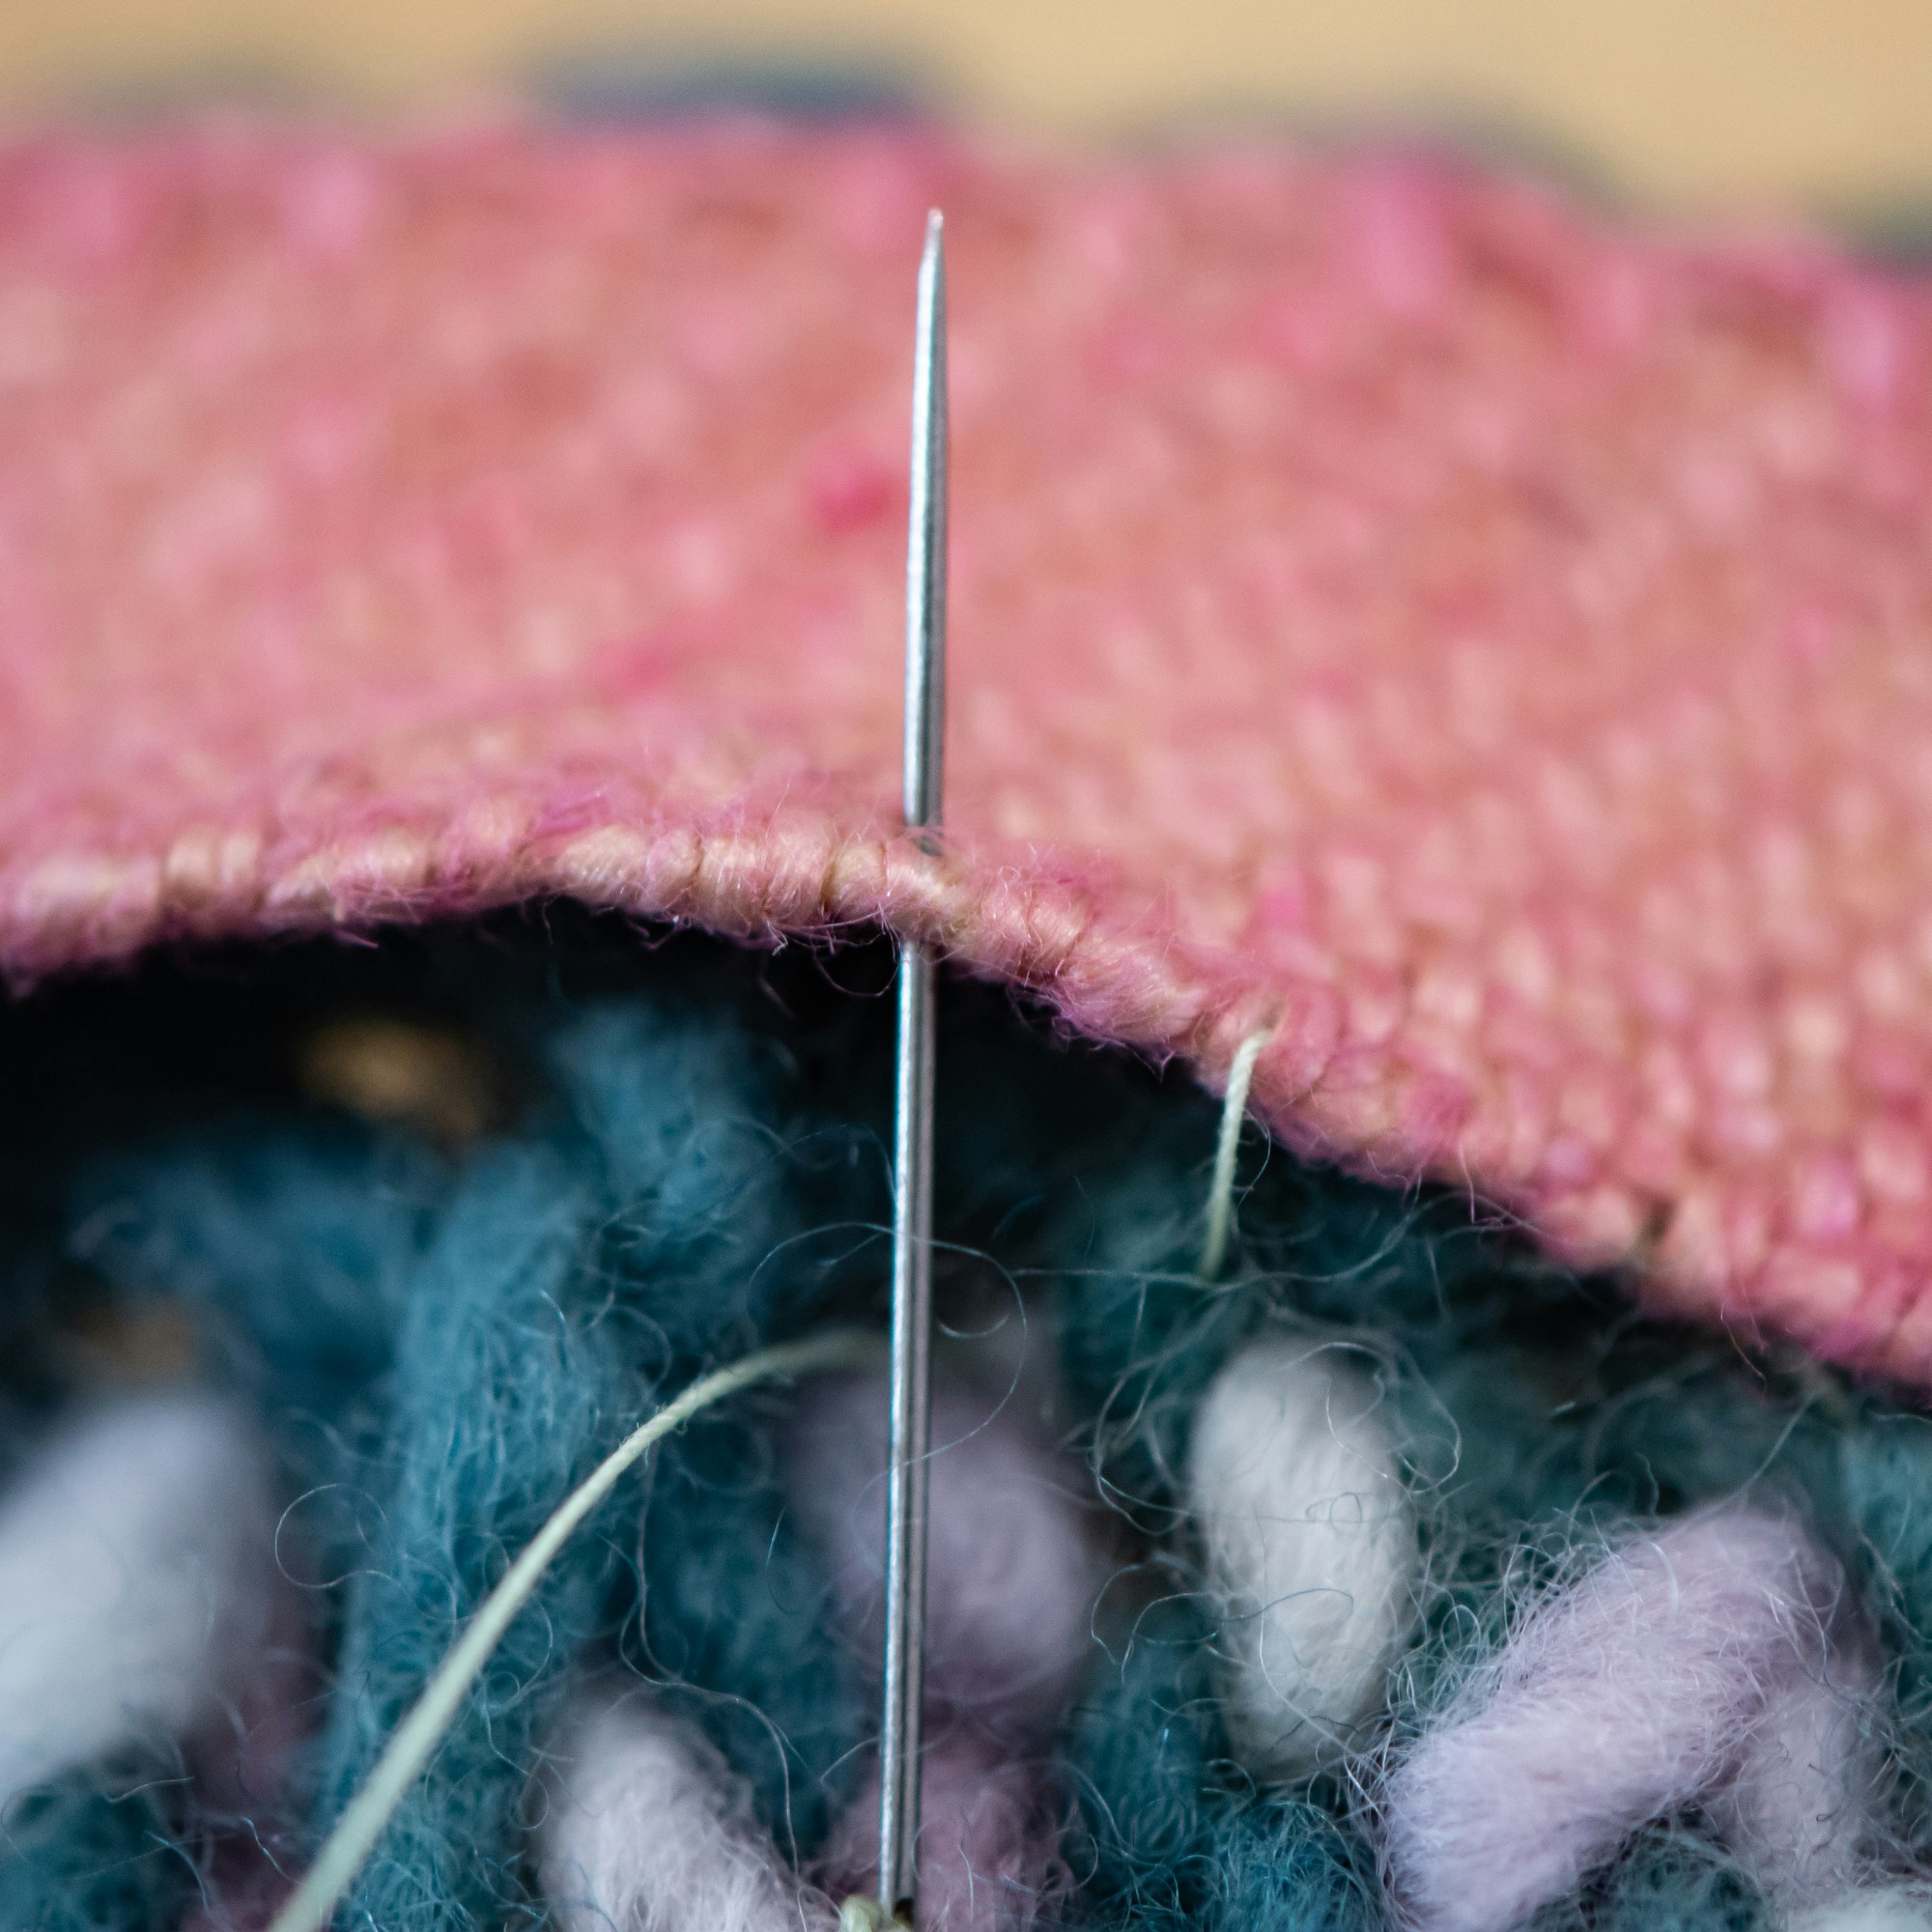
Step 3: Send your needle through a couple of loops of yarn on the back of your work. This is one of the few times it’s okay to split your stitches—the sewing thread should not show on the public side of the work.
Step 4: Send your needle up through the band.
Repeat Steps 3 and 4, taking a stitch in the band about every half inch.
As you sew down the band, you are giving part of your knitted garment the structure of woven fabric. This reinforcement creates a stable edge that will keep your sweater from stretching out of shape.
Whether you choose something simple, or go down the rabbit hole with custom-woven bands like I have, you can’t go wrong!
Further reading