
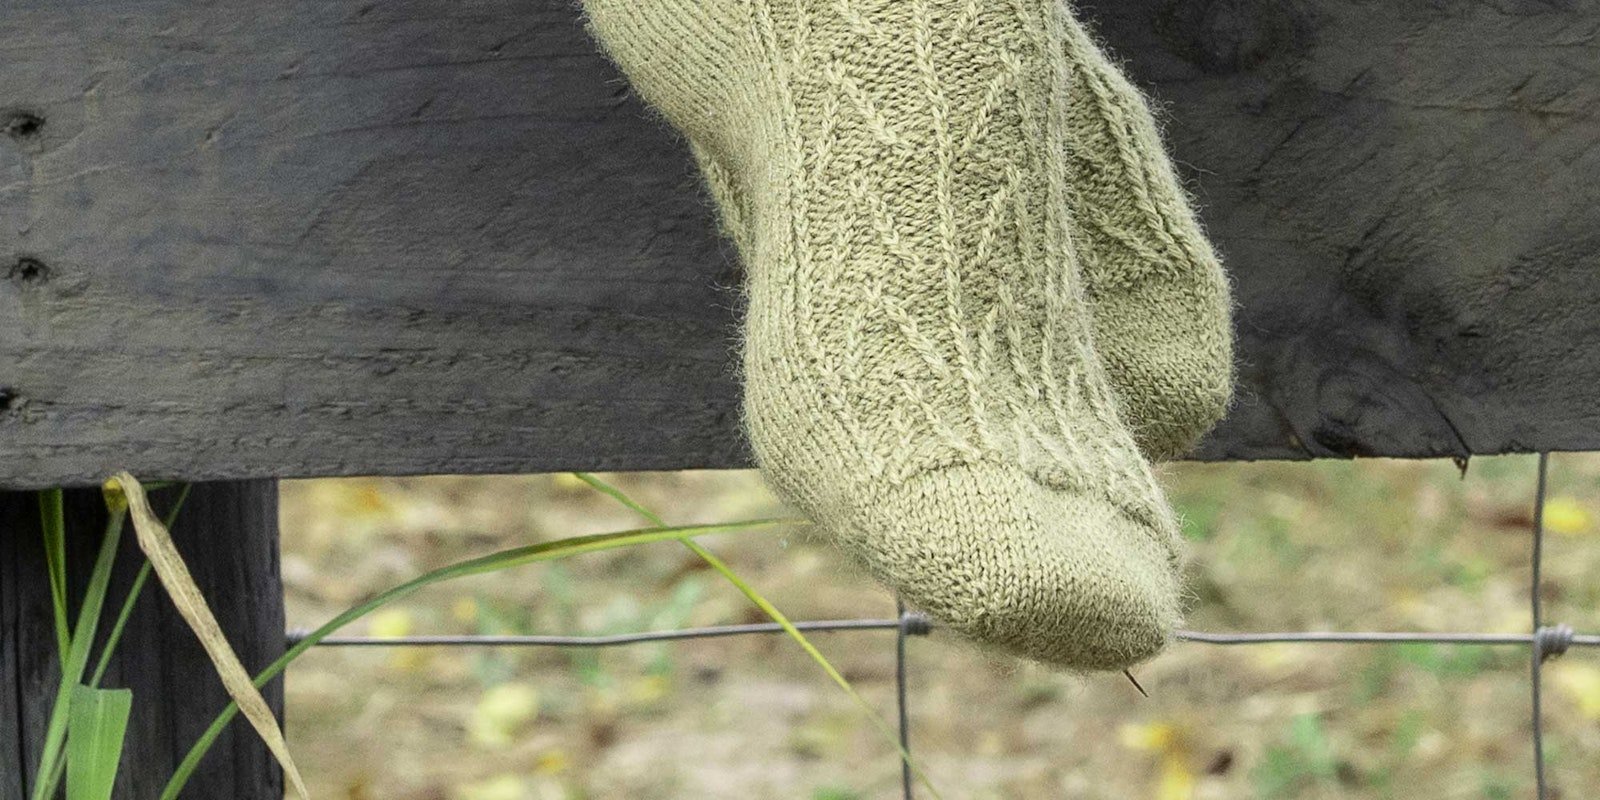
Judy’s Magic cast-on is my go-to for socks knitted from the toe-up. It produces a seamless toe with a minimum of fuss and no grafting required! I’ve also used this cast-on for sweater pockets and small knitted bags.
All you need to get started is your needles and yarn. While this cast-on is usually worked on circular needles, I’ve also seen it done on double-pointed needles—it just takes a bit more practice to manage the tension at the beginning.
To start, check out this quick video. You’ll find step-by-step instructions and photos below.
How to Do Judy’s Magic Cast-On
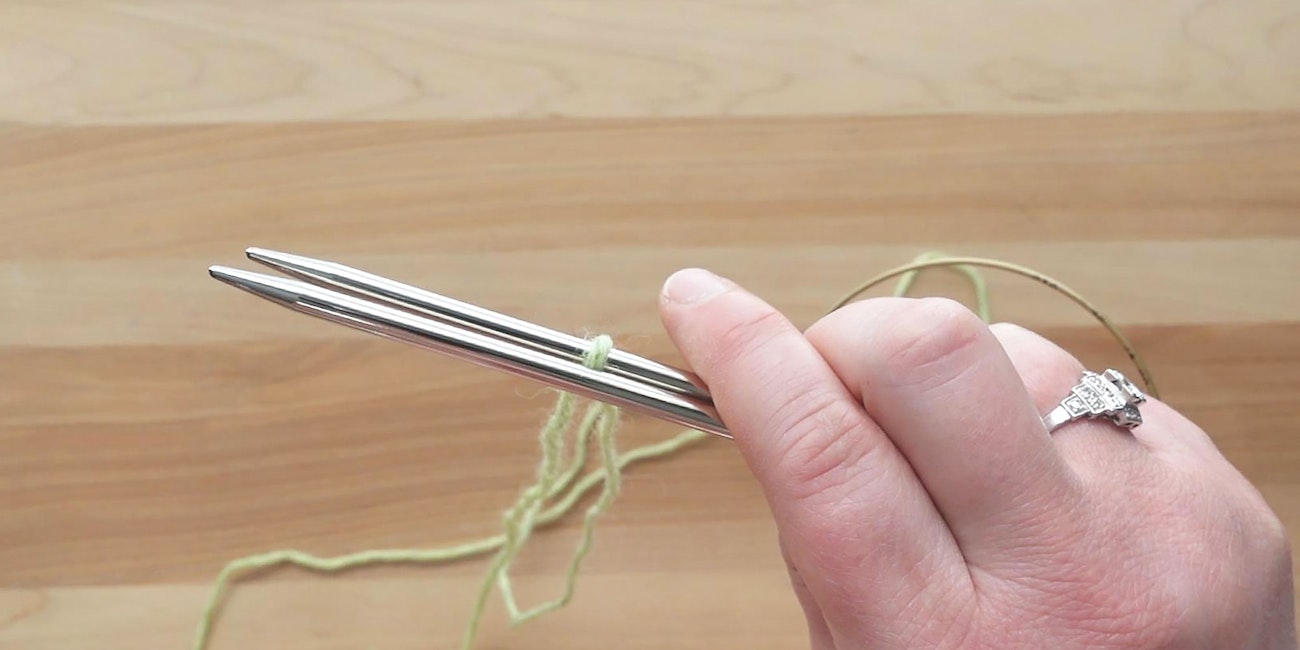
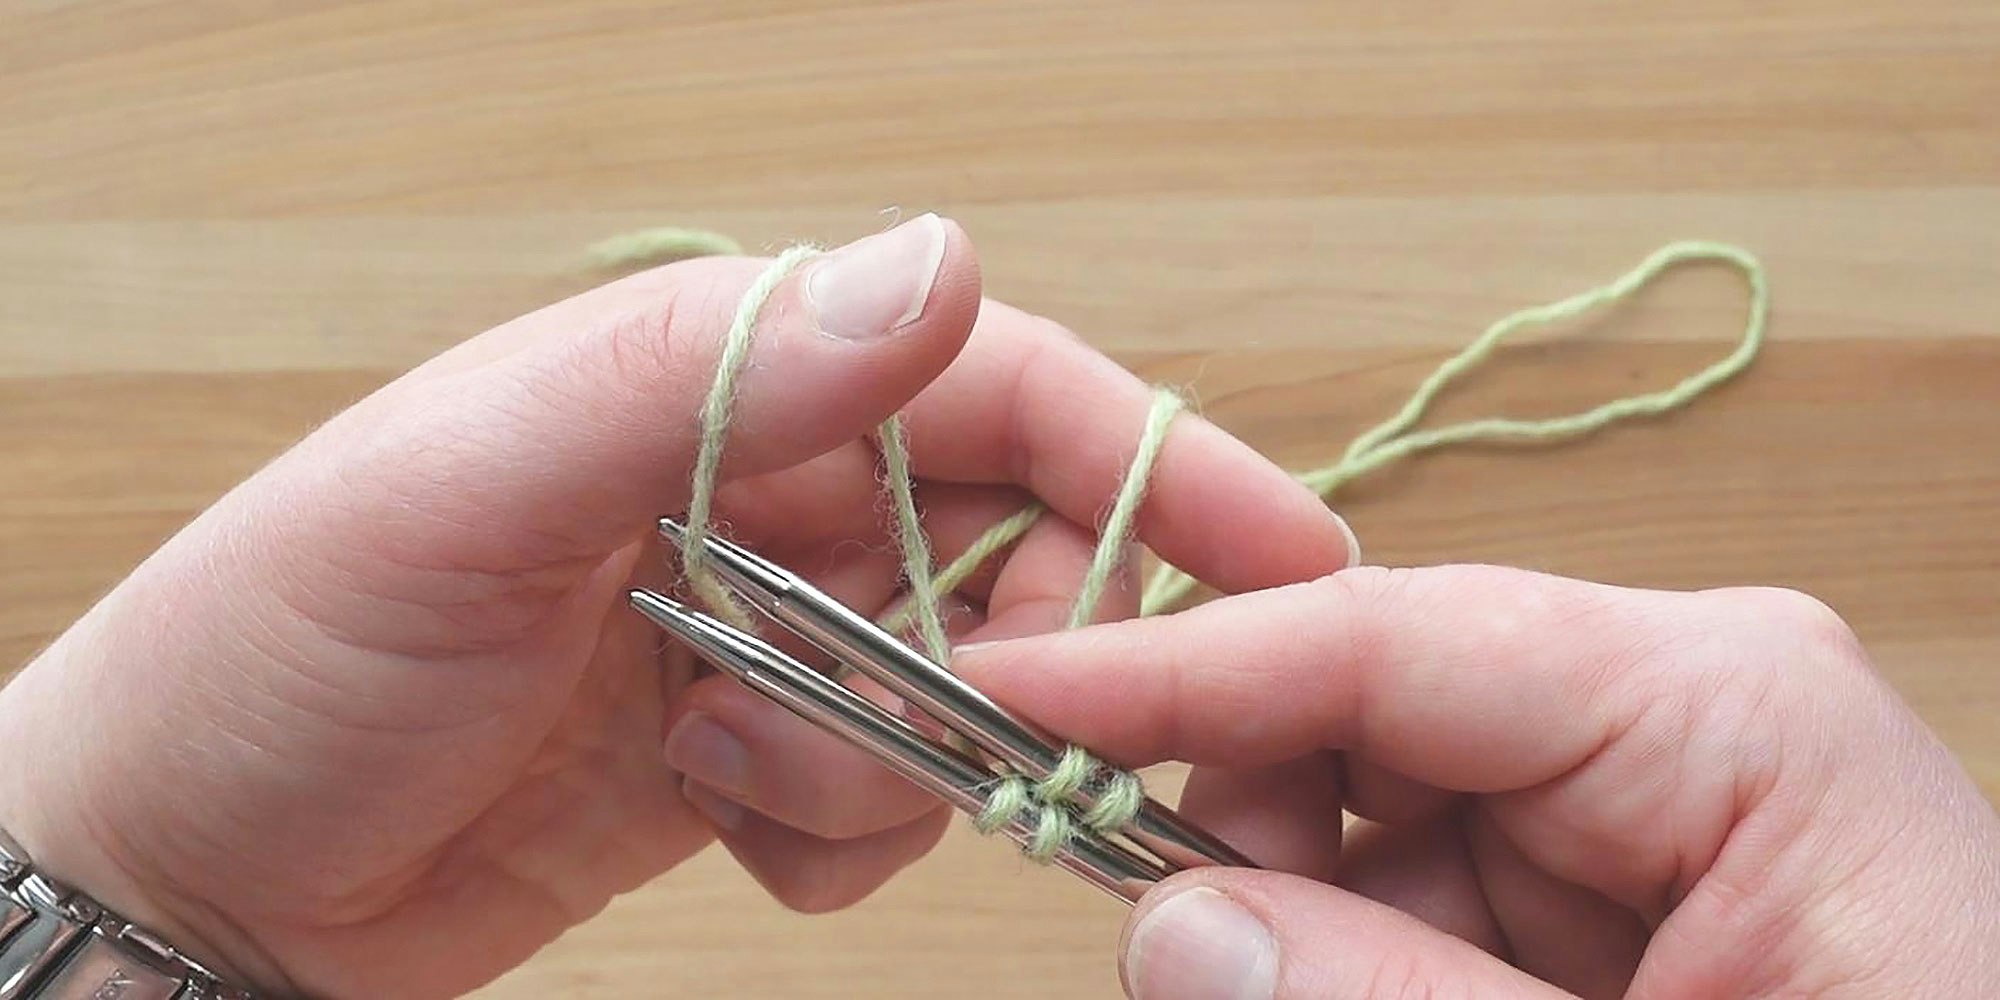
1) First, make a slipknot, leaving a tail long enough for about half of your stitches. Holding your needles parallel to each other with the points facing to the left, put the slipknot on the back needle.
Note: If the slipknot bothers you or your intended recipient, it’s easy to proceed without it—simply start the cast-on with a loop on the back needle instead of a slipknot.
2) Drape the shorter tail over your left pointer finger, and the longer working yarn over your left thumb. Gently tension these against the slipknot until you create a triangle or slingshot shape.
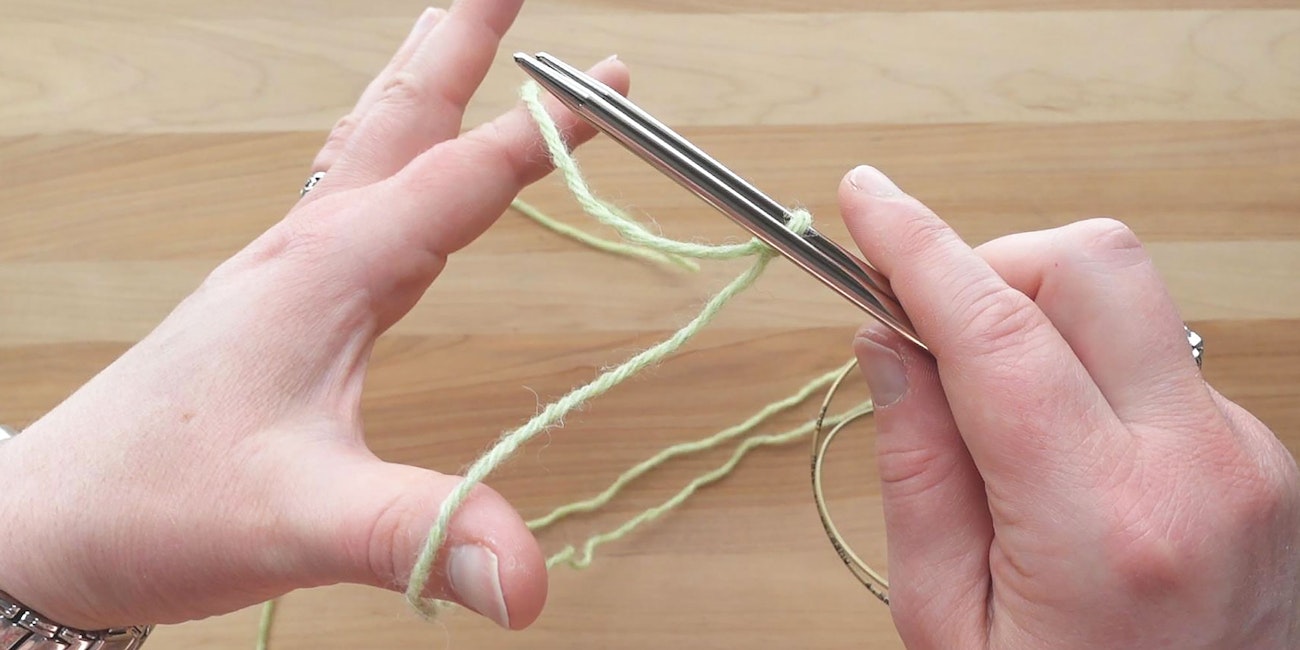
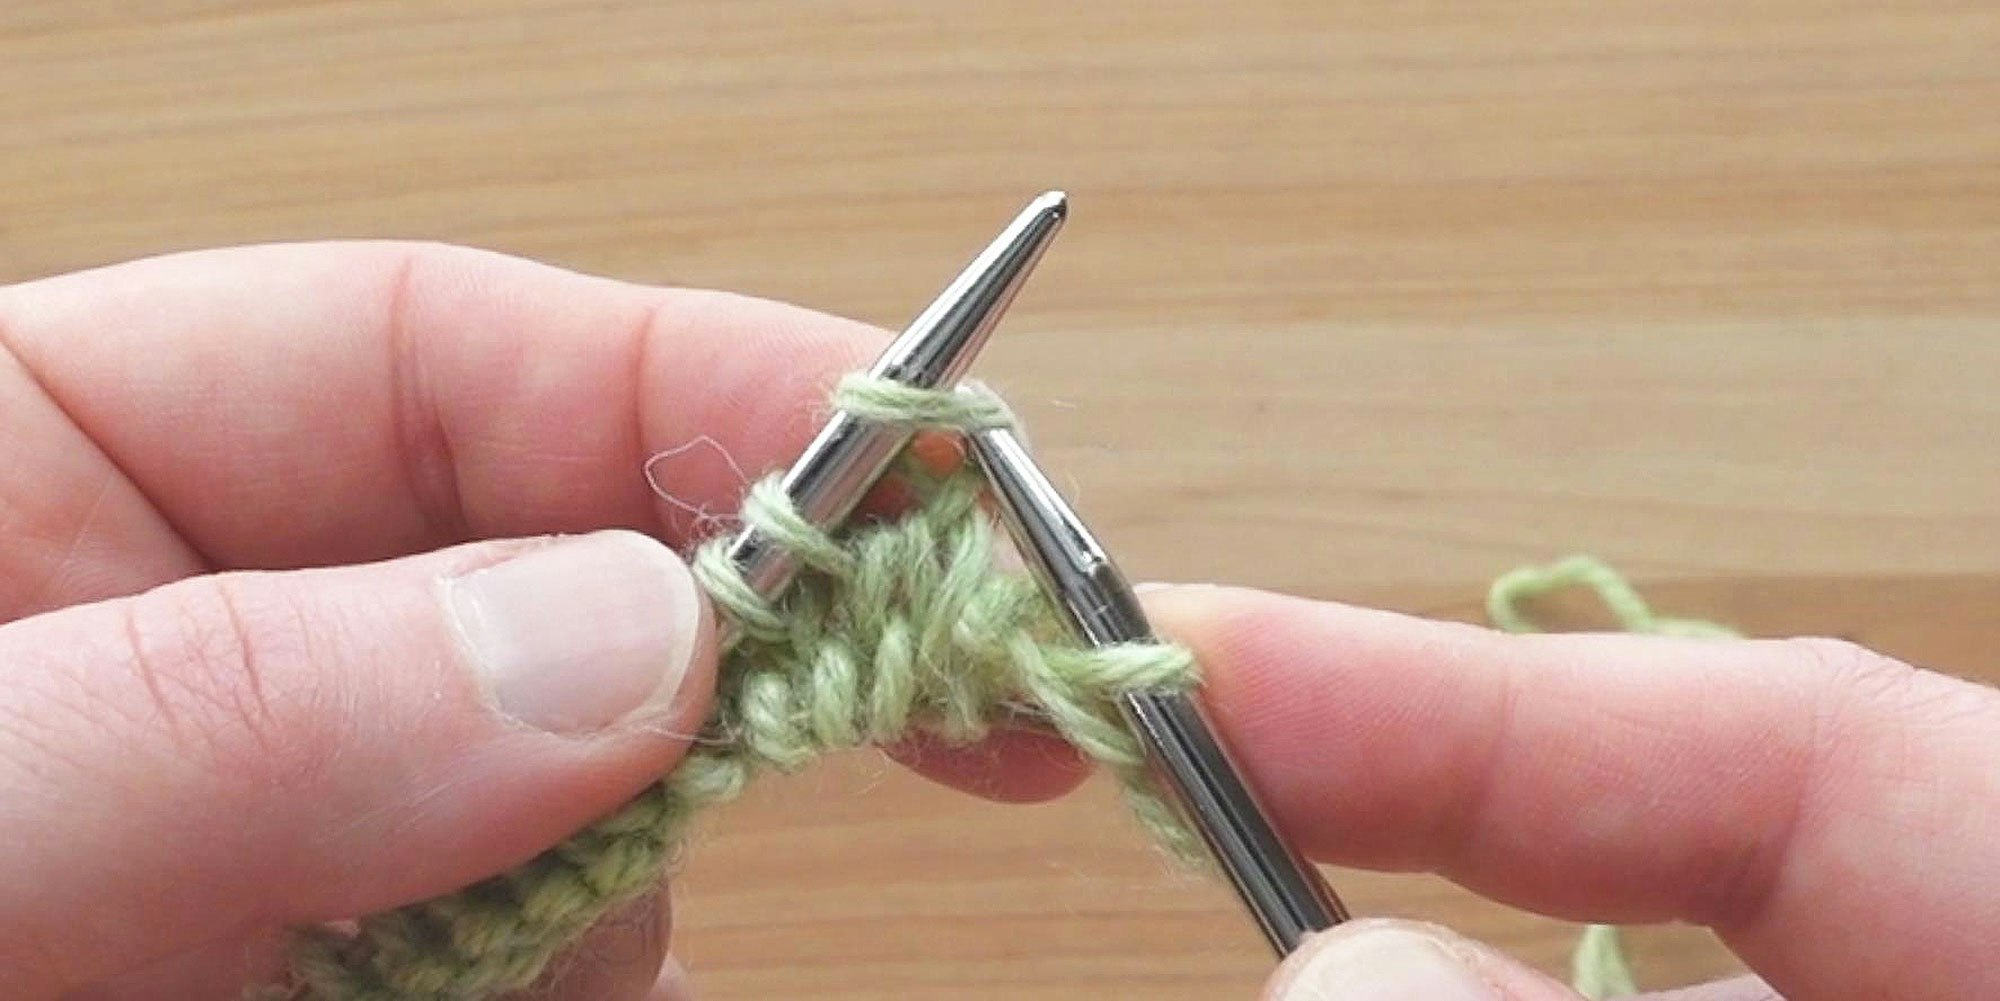
3) Loop the yarn held in your pointer finger over the needle closest to your body (below, left), and then loop the yarn held in your thumb over the needle that’s farther away from you (this will be the needle that has the slipknot on it, shown at right).
Click on the images below to open in full-screen mode.
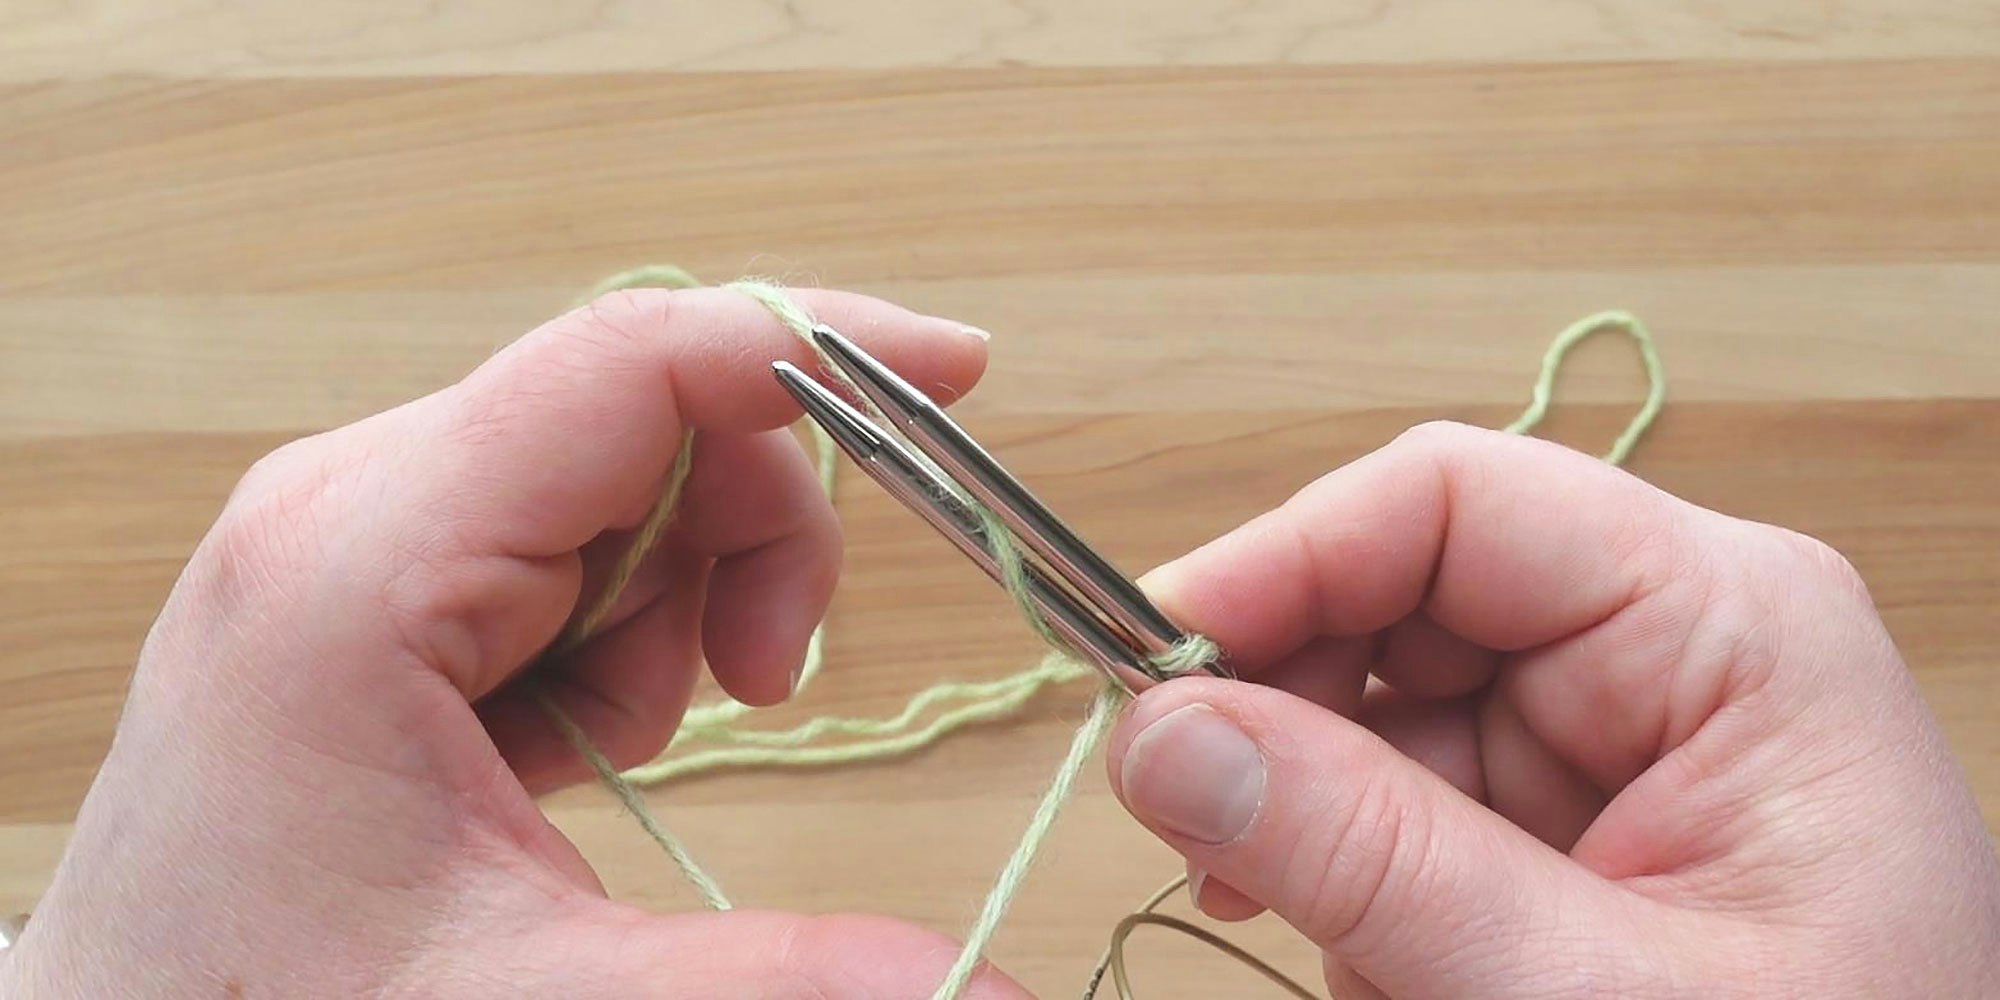
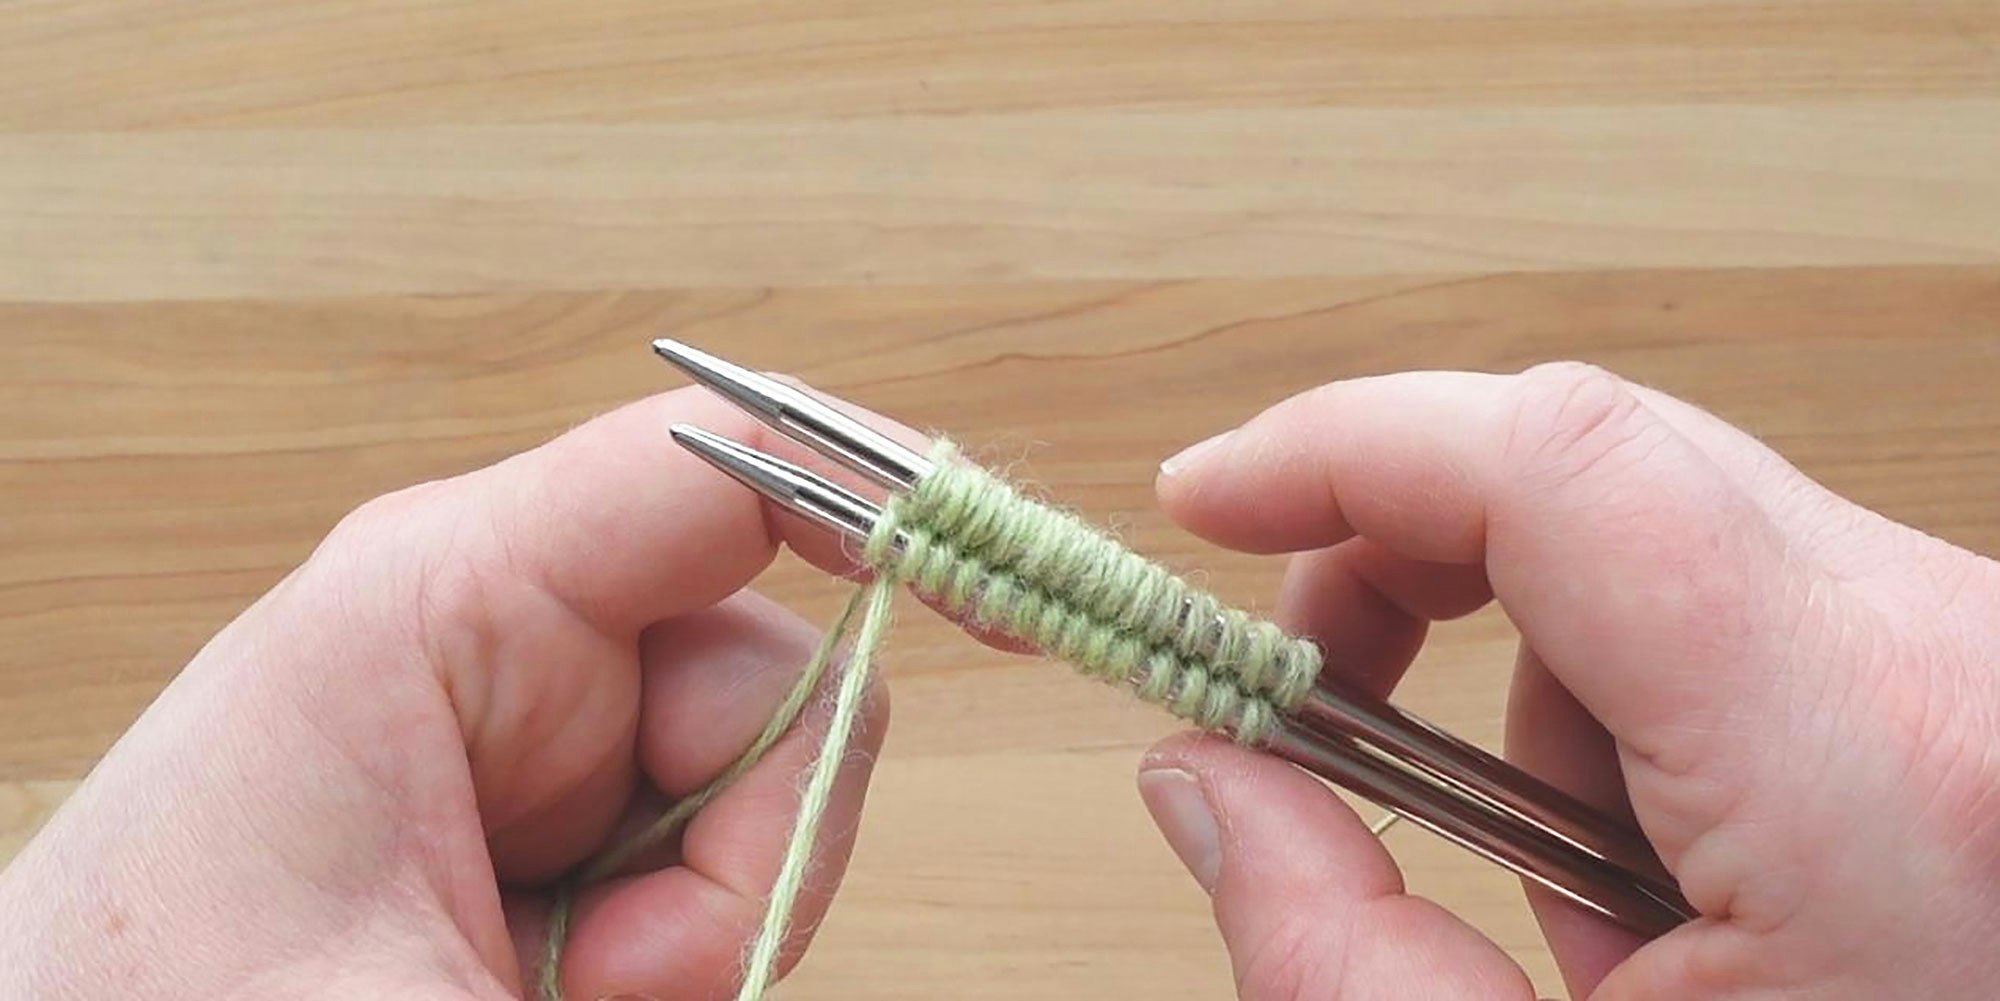
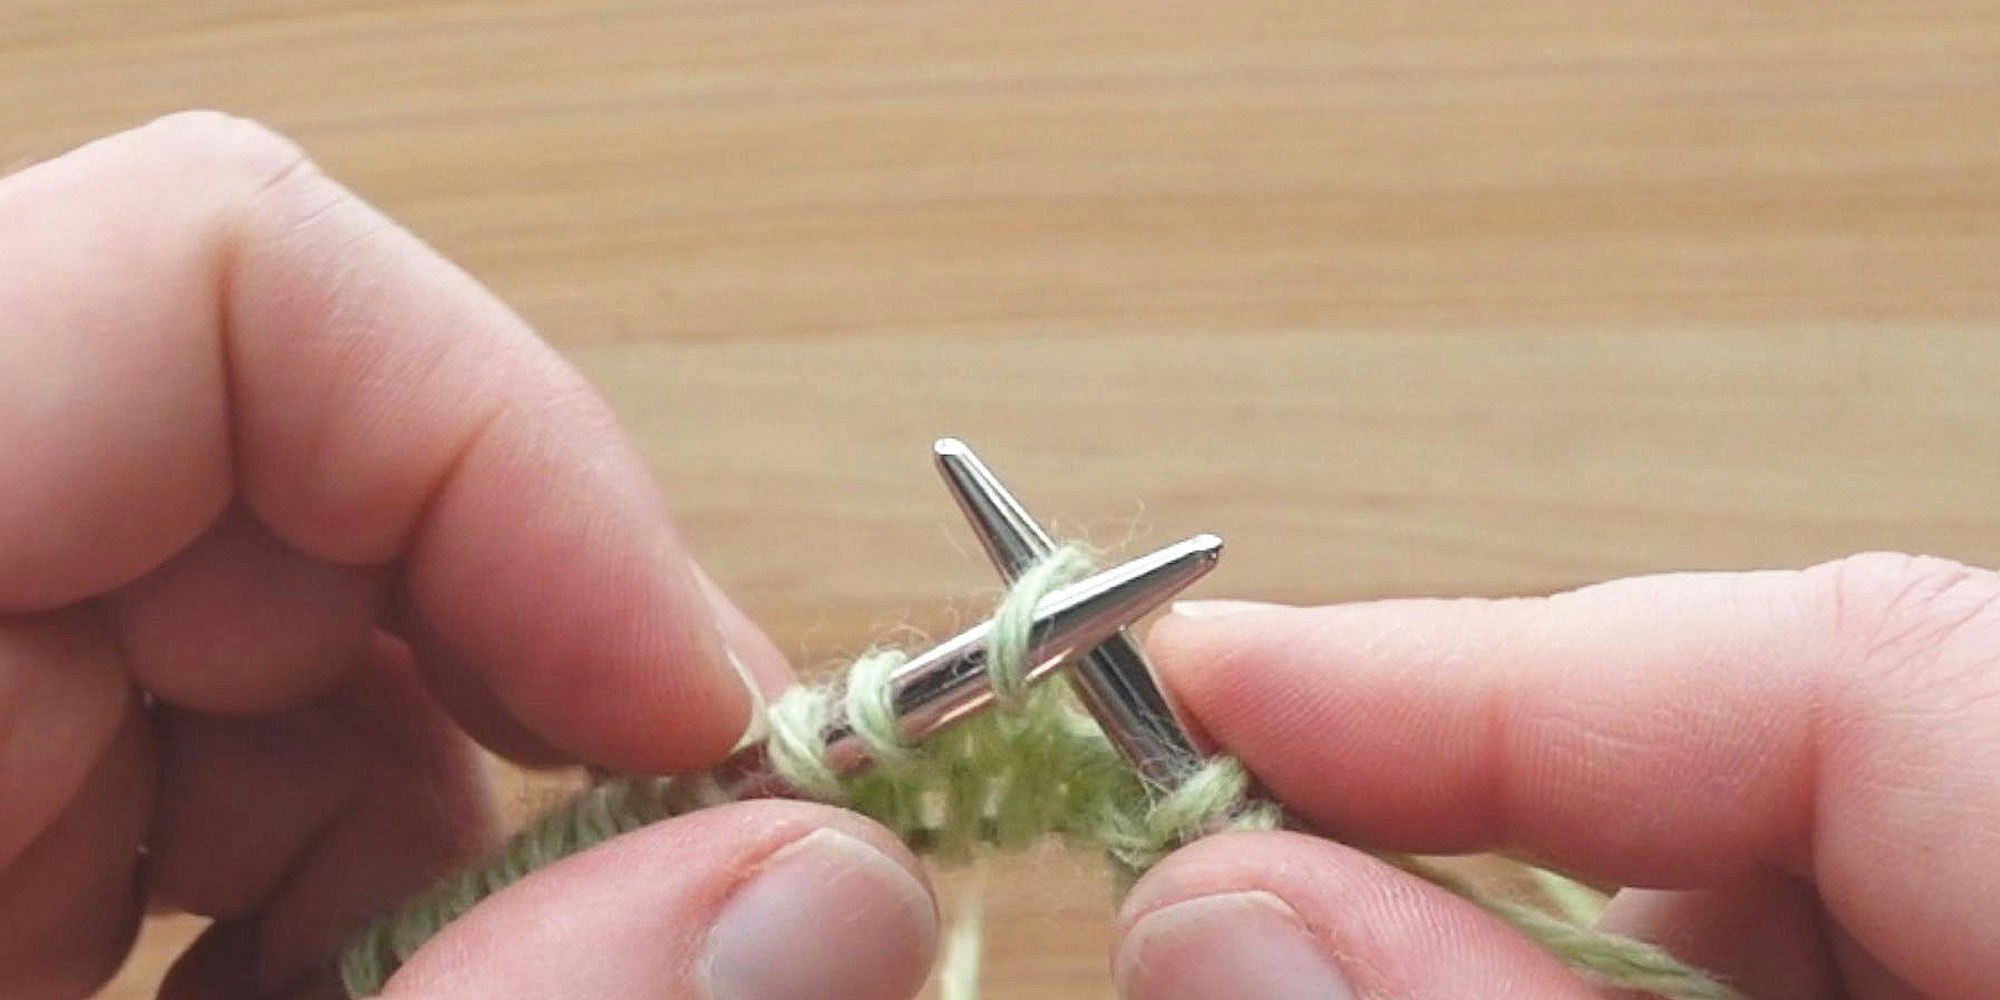
4) Continue making loops in this manner until you have the required number of stitches for your pattern. Each loop, including your original slipknot, counts as a stitch. If your cast-on calls for 28 stitches, then you will want 14 loops on each needle. The last loop you made will be a little loose—just tension it and wrap the tail around it, and hold tension on the tail for the first stitch or two in the next step.
Note the back side, shown at right, which looks like a row of purl stitches.
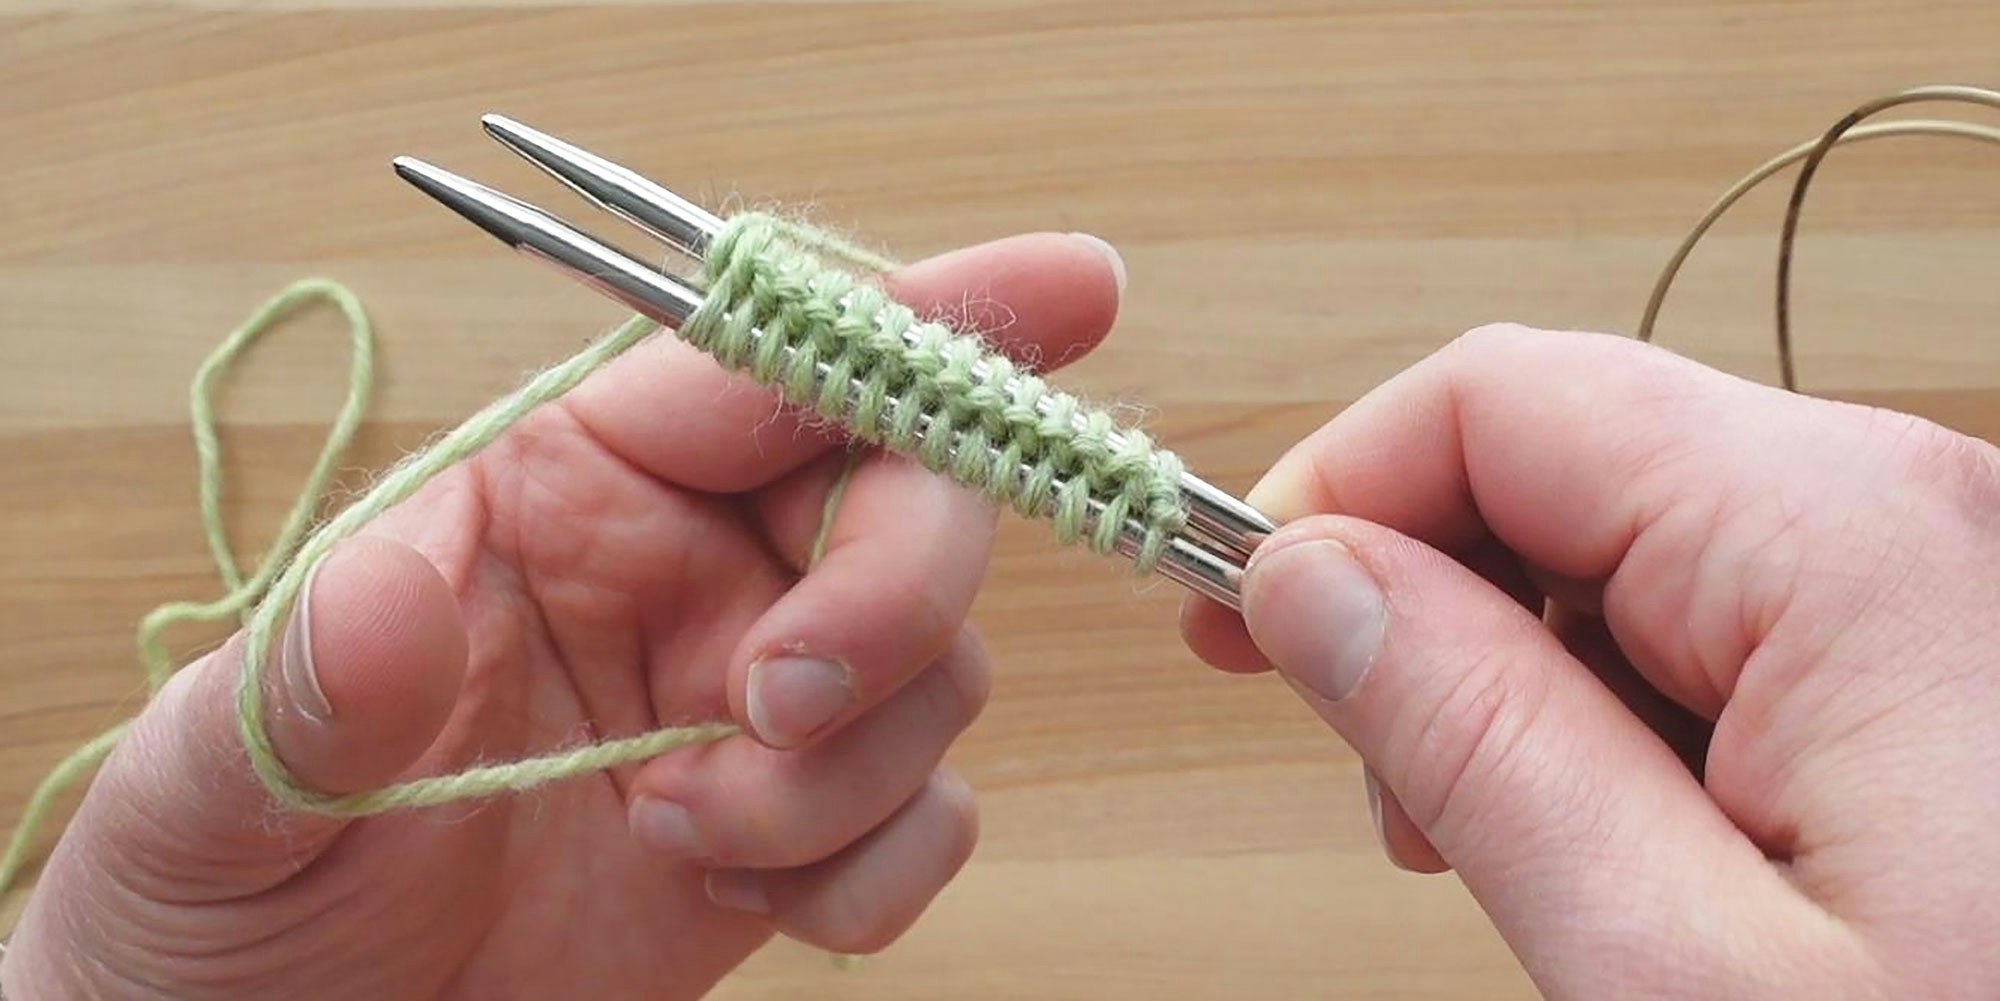
5) Now turn your needles around so the tips point to your right. You’re ready to begin knitting!
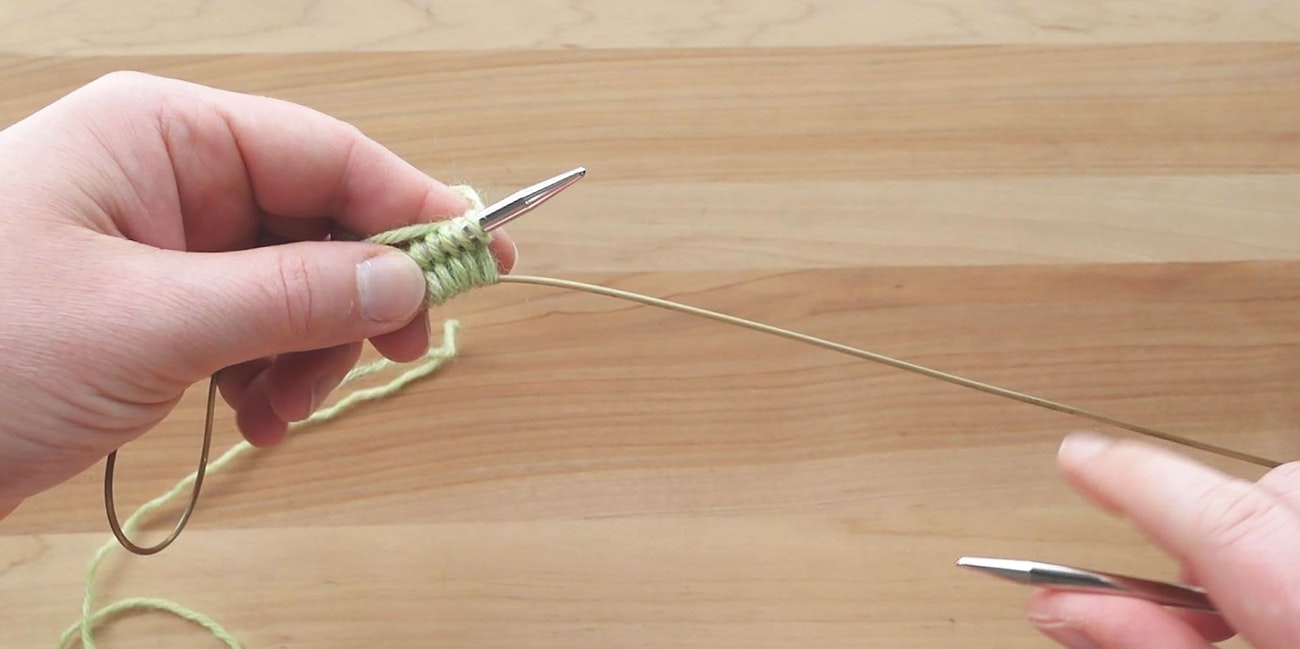
Pull the bottom needle through the stitches so that the stitches are held on your circular cable, then knit across the top needle.
6) On your second row, your first stitch is the slipknot you made at the beginning. Knit it like you normally would. But then, you’ll discover that the rest of the stitches on this needle are twisted. Not to worry! Just knit each of these stitches through the back loop. You won’t need to do this again, it only happens on the foundation row.
And that’s it! You’re ready to continue with your sock pattern.
Try Judy’s Magic Cast-On with the House of the Seven Gables Socks by Mimi Seyferth in the Summer 2026 issue of Farm & Fiber Knits, coming April 23!