
For every enthusiastic mender I know, there are several would-be menders sadly eyeing their stack of holey socks and damaged sweaters. For some folks, it is just that there are only so many hours in a day. But if you are a reluctant knitter who doesn’t know where to start or feels intimidated by the process, gathering a toolkit can be a great motivator. Knowing that you have the right tools when making time to sit down and mend can make all the difference.
Here are some basic tools and some wish-list tools to gather:
Needles
Let’s start here because just one tapestry needle is the only tool you need to get started with Swiss darning, which is arguably the most essential mend to know as a knitter. (Find my tutorial here.)
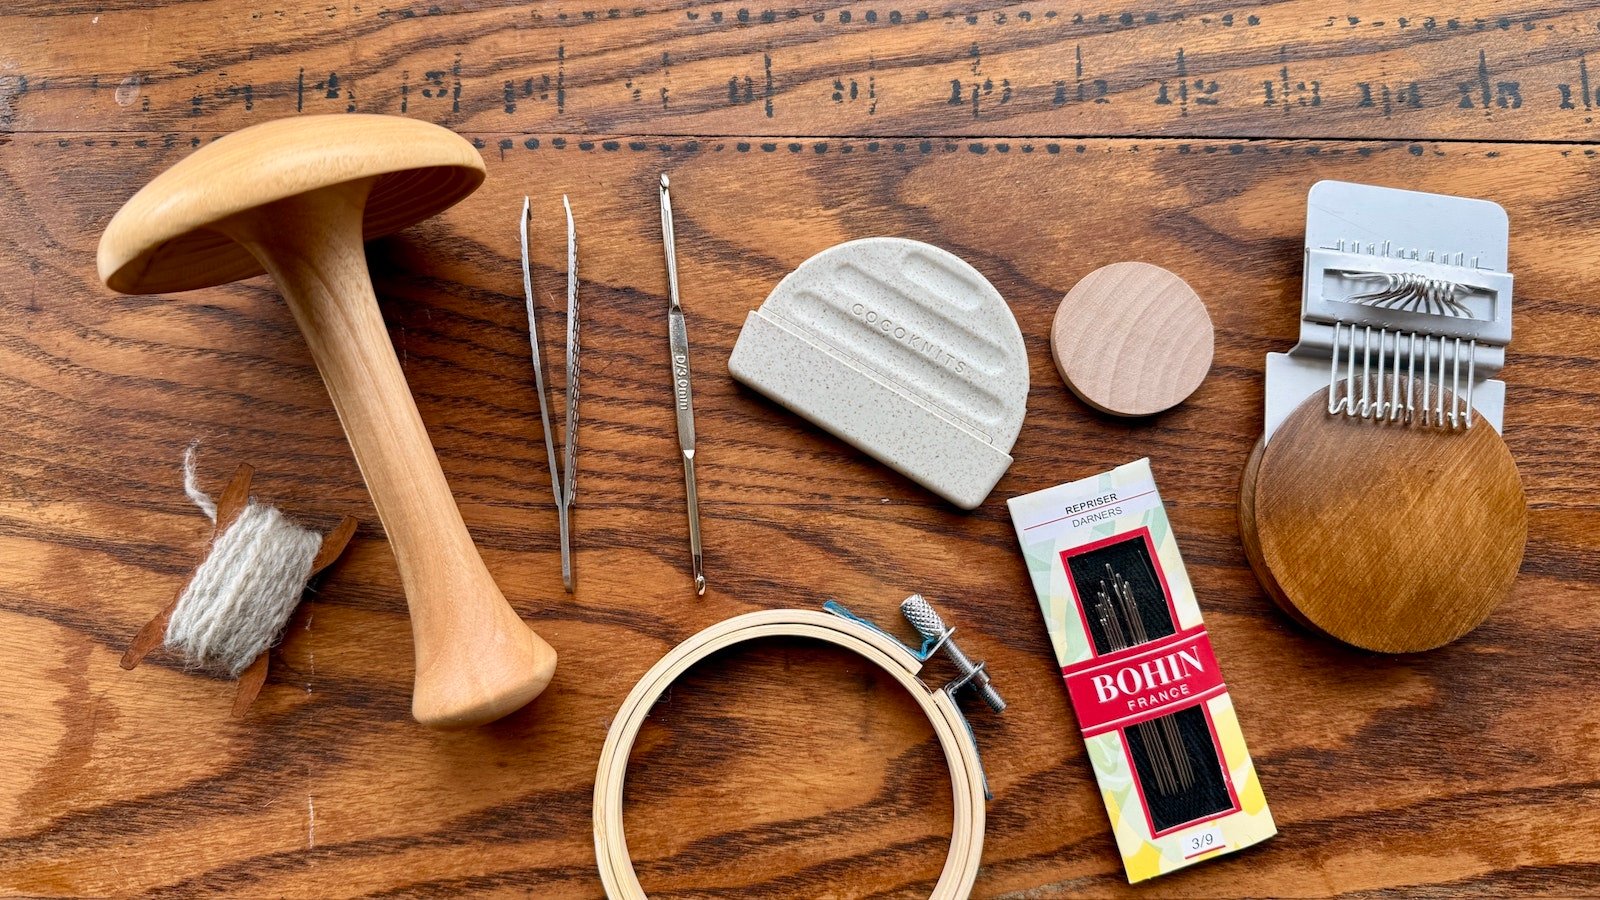
 From left: Sharp-tip large darner or chenille needle, blunt-tip tapestry needle, bent-tip tapestry needle, Bohin darner set in various sizes.
Most knitters have a tapestry needle already. These blunt-tip, large-eye needles are great for sewing between stitches. Darning needles or darners have a sharp tip, which are ideal for mending woven fabric. Some folks prefer a bent-tip needle, which allows you to scoop under stitches.
I love having a collection of all three kinds in different sizes if possible. Over the years, I’ve added various needles to my mending kit, and I store them on a piece of scrap fabric. I can roll the fabric and needles up for storage and unroll the fabric so I can easily see the various sizes and tips when I’m ready to mend.
Loop Management Tools
While Swiss darning is the best way to reinforce knits that are thinning, we often need to repair areas where loose stitches are raveling. There are a number of great tools for reknitting these loops, including a crochet hook or double-ended crochet hook. A double-ended hook, like the one shown at top from CocoKnits, makes reknitting a mix of knits and purls so much easier.
 Have you ever tried using a latch hook to pick up dropped stitches?
A latch hook is a common mending tool and can be used to reknit as shown here or any time a short piece of yarn needs to be pulled through. And a spare set of double-pointed needles is what I often grab because they are such a familiar tool.
Another ubiquitous tool that you likely already have is a good pair of tweezers. Even when used in combination with the other tools mentioned here, tweezers are great to have at-the-ready when you sit down to mend.
Forms
Having something to hold your base fabric—socks, sweaters, etc.—secure as you work makes mending much easier. Creative humans have used loads of different tools. There are familiar vintage tools, such as a darning mushroom or darning egg, but you you can also use something that you already have at home: an apple or orange, an empty soda can or mug, or even a lightbulb. I also have a small darning disk in my mending toolkit. I purchased the one shown below (center) at a craft store that sold sets of wooden disks and assorted shapes. Just like a darning mushroom, you would place the form under the area to be mended and secure on the underside with a ribbon or yarn.
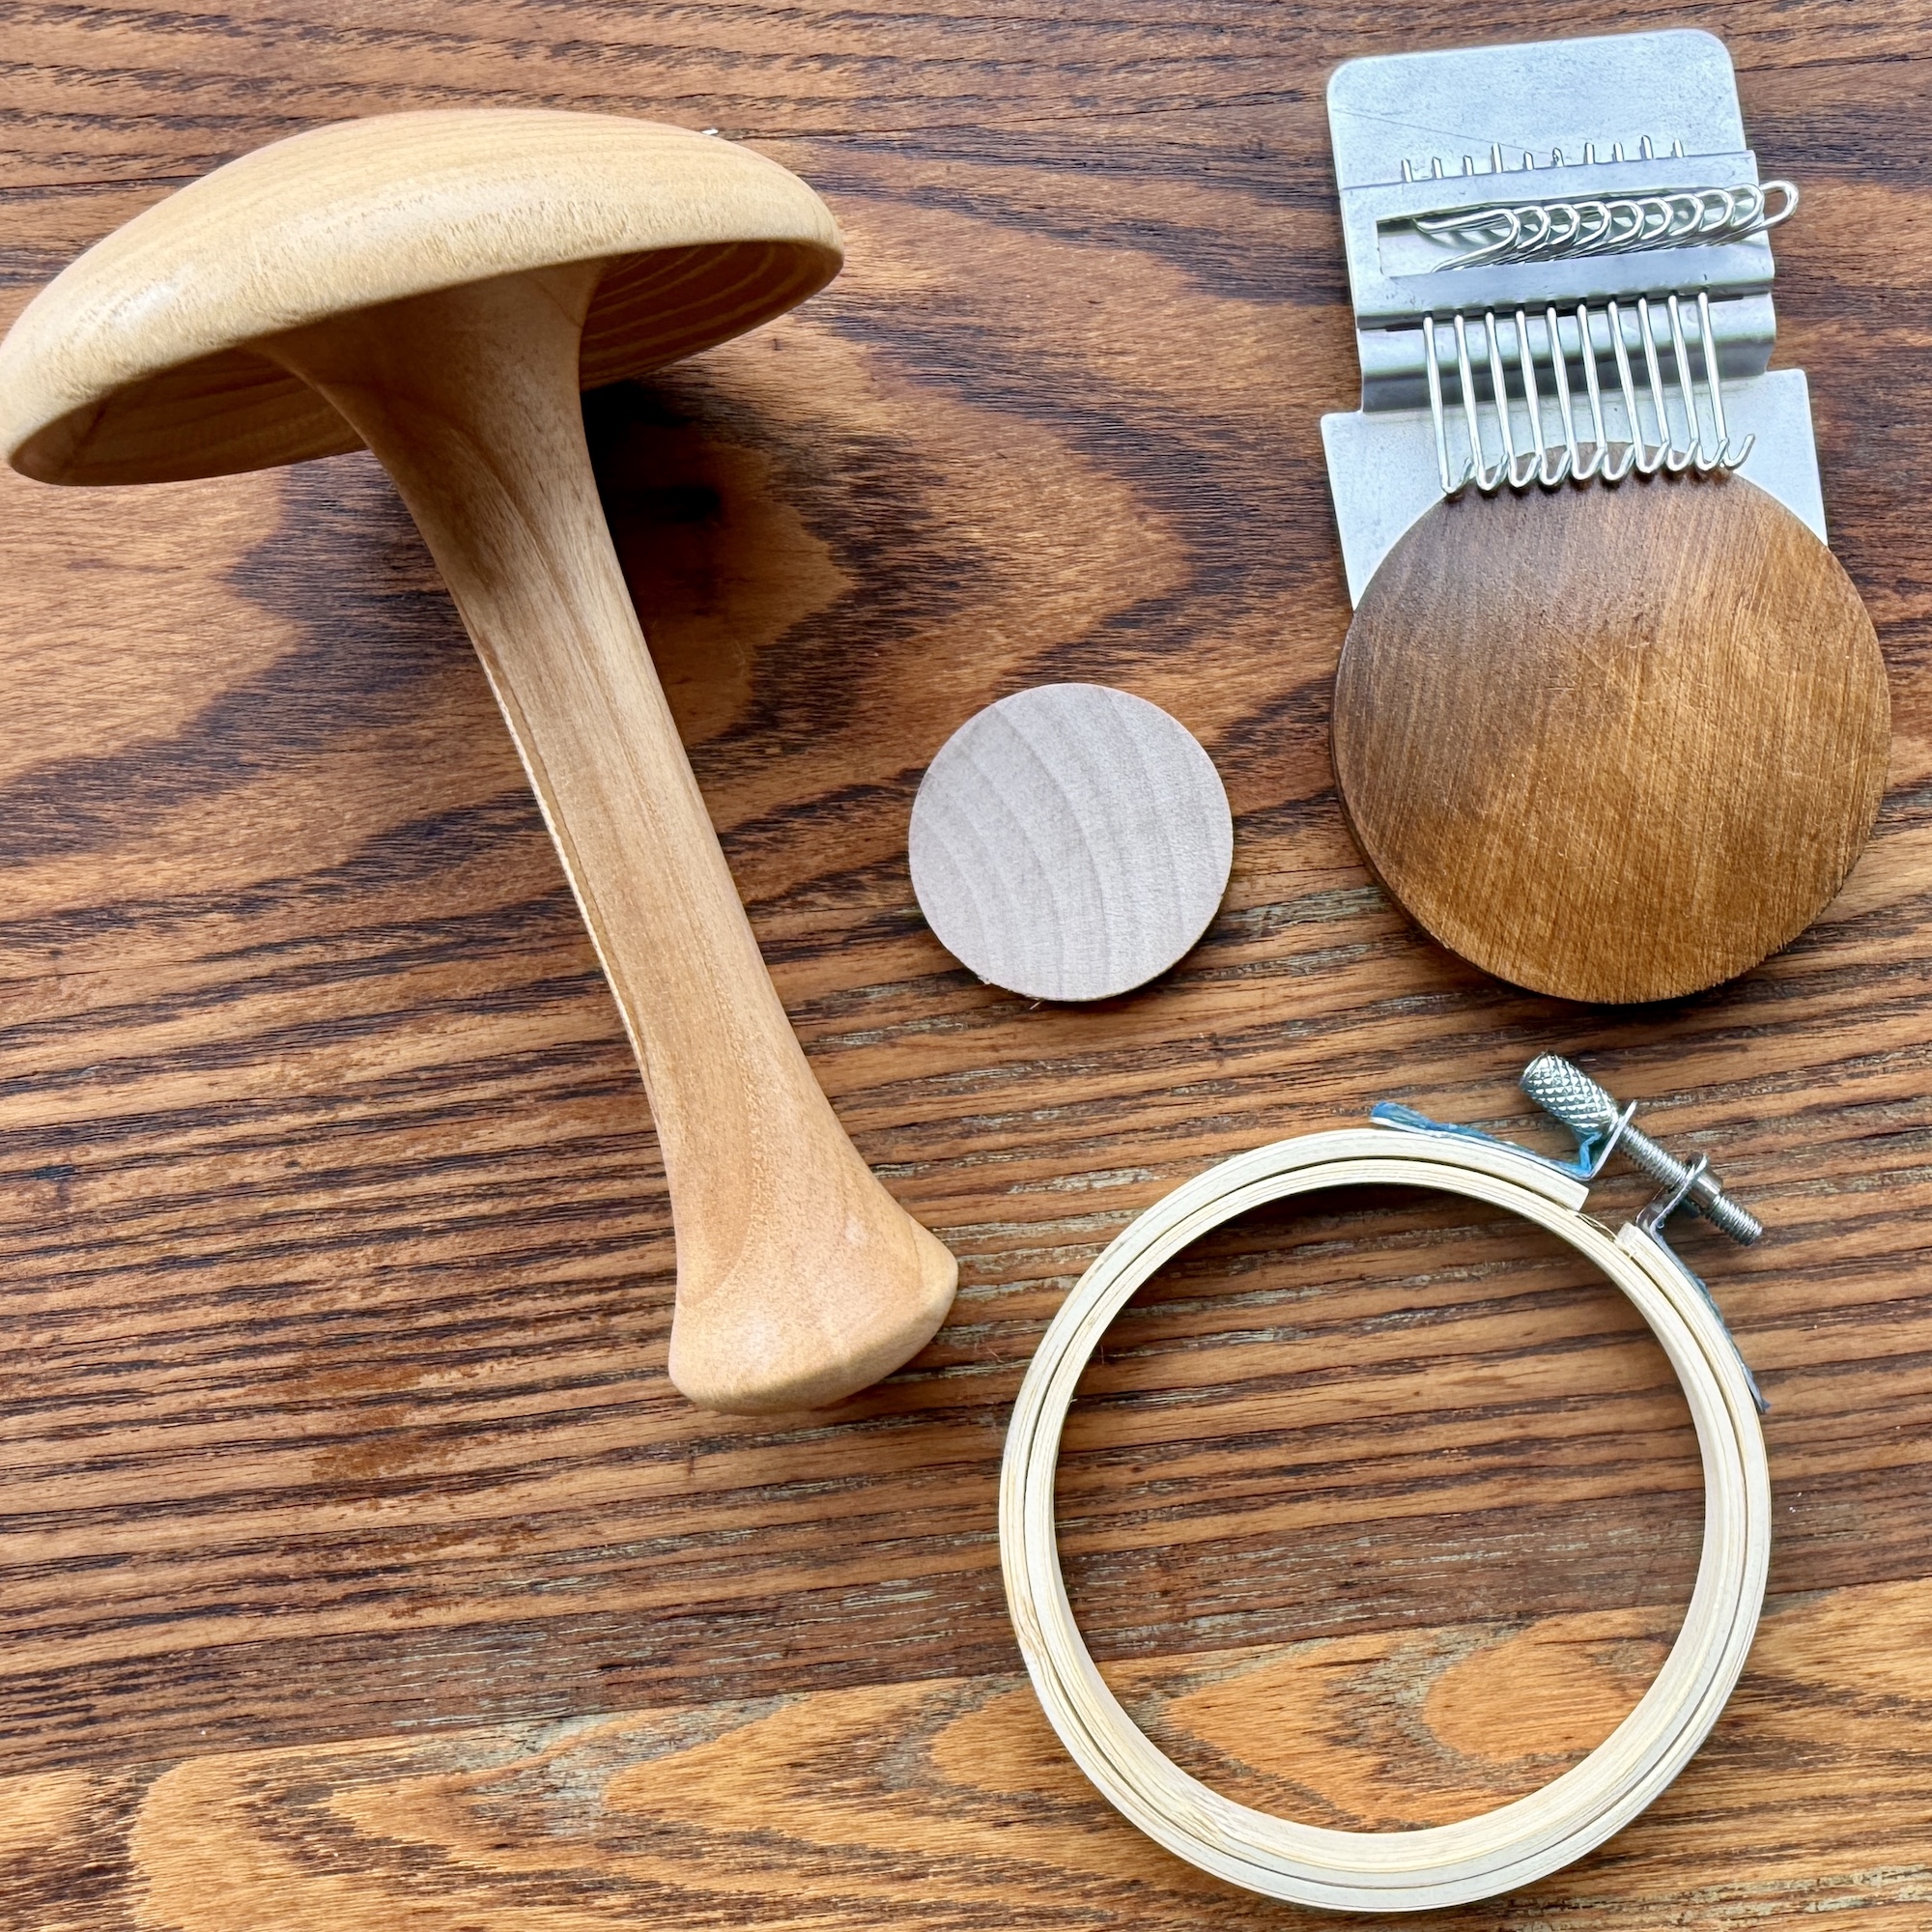
Other tools, such as an embroidery hoop, tension the fabric. And a speedweve-style mending loom is a super fun way to create woven patches. These woven patches can be worked on knitted or woven fabrics. I created a tutorial on using a mending loom, which you can watch here, and we have more mending-loom content coming your way this spring!
Mend Along with Us!
I love watching other people mend, and I think it can be easier for all of us to tackle our mending pile if we have company. So, we invite you to join us for a mend-along this month! Here’s what we’ll be doing:
Week 1: Swiss Darning Tutorial and Tips
Week 2: Build a Basic Mending Toolkit (this post)
Week 3: Woven Darn Tutorial
Week 4: Live Session with Kate Larson! Diagnose Your Damage and Make a Mending Plan
Week 5: Mending Inspiration! Freehand Mending Techniques and Tips
We hope you’ll dig out your socks or sweaters—really anything with a hole (or near-hole) to be tackled—and join us!